
Project Images and Wiring References
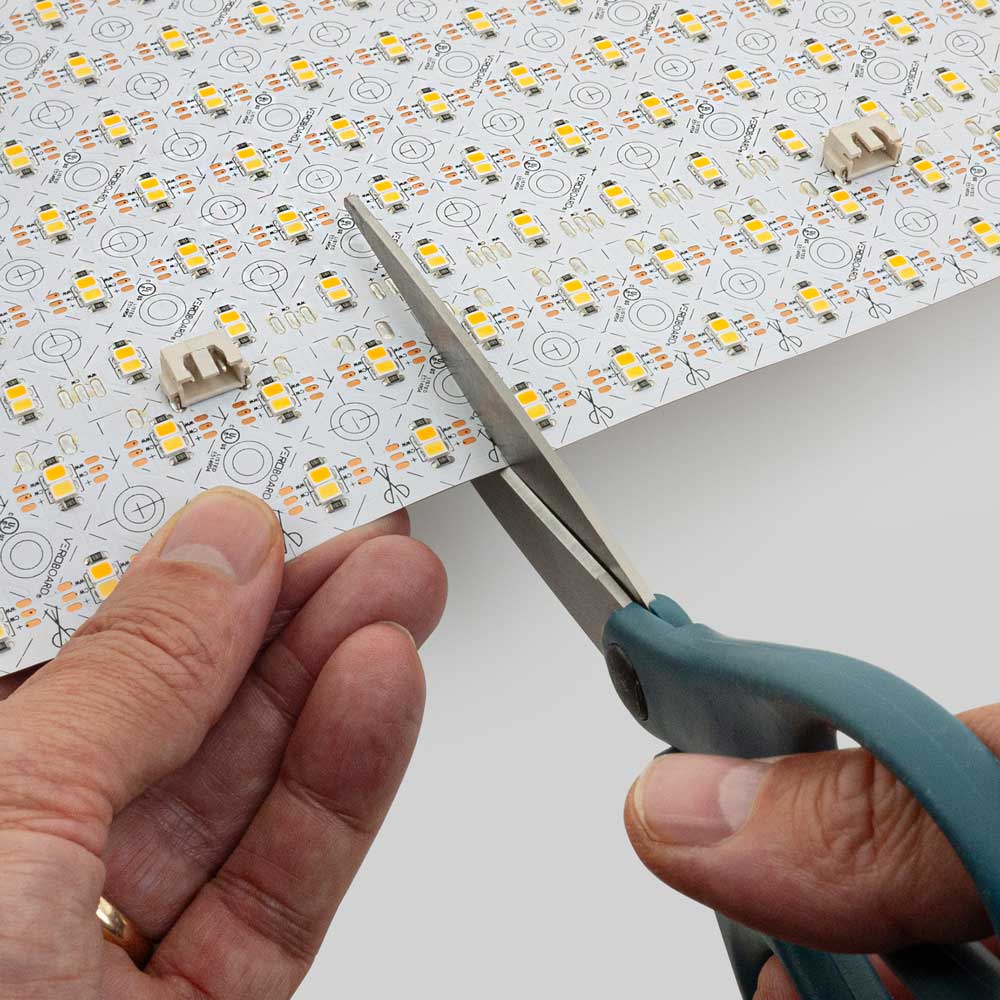
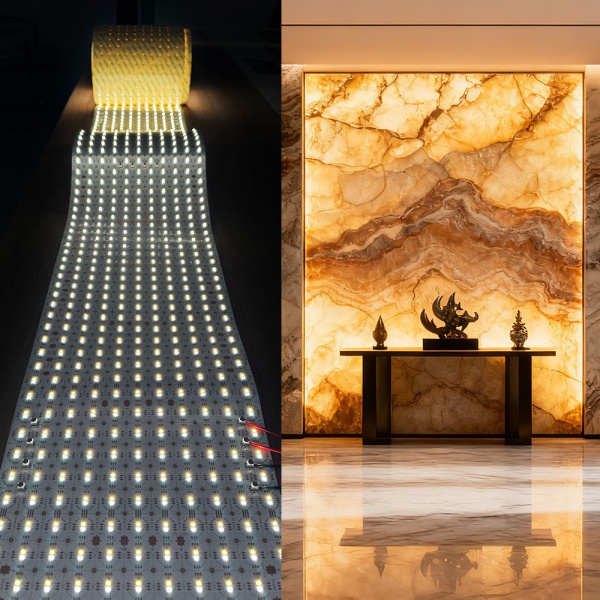
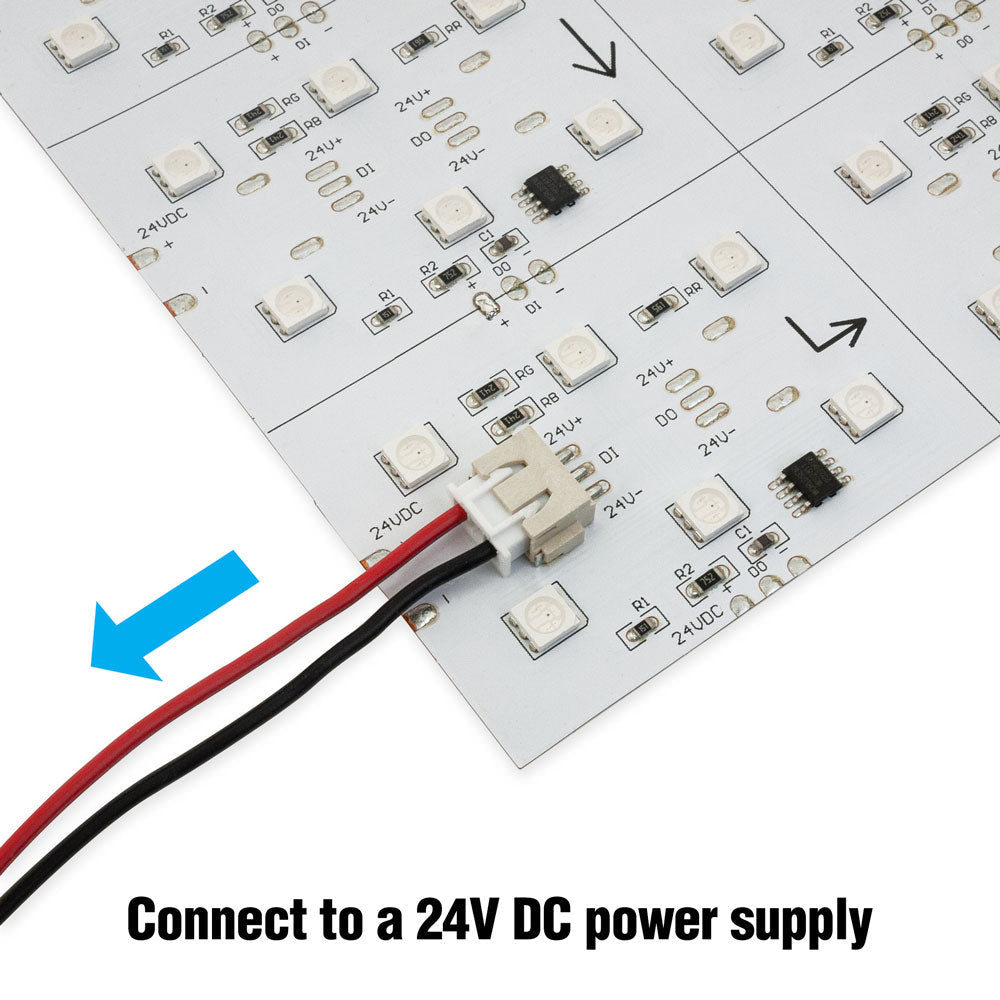
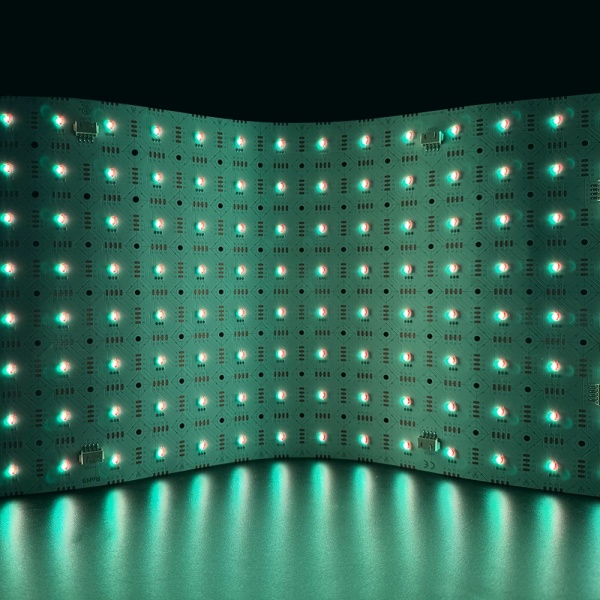
A first-time LED light sheet installation can be DIY-friendly for small, low-voltage, dry indoor projects, but large stone walls, RGB/CCT systems, long cable runs, and bathroom-adjacent installations should be planned more carefully. The goal is to test everything before the sheet is hidden behind stone, acrylic, cabinetry, or signage.
If the project already has a correct layout drawing, matched power supply, clear cable exits, and simple single-color wiring, a careful installer can often handle it. If the project involves mains wiring, large-area splicing, dimming integration, or sealed cavities, involve a qualified electrician or project installer.
Before You Start
- Confirm the exact LED sheet model and voltage
- Check whether the sheet can be cut and where
- Confirm power supply wattage with headroom
- Lay out sheets on a clean surface before sticking
- Mark cable exits and controller location
- Test every sheet before final mounting
For preparation, read how to cut and install flexible LED light sheets, then compare it with common LED light sheet installation mistakes.
Troubleshooting Common Problems
| Problem | First checks | Likely solution |
|---|---|---|
| Nothing lights | Voltage, polarity, PSU output, connector seating | Reconnect correctly and test PSU output |
| One sheet is dark | Connector, cut line, damaged trace | Bypass test and inspect cut area |
| Far end is dim | Cable length and daisy-chain load | Add power injection or split zones |
| Dots are visible | Cavity depth and diffuser layer | Increase distance or add diffuser |
| Dimming flickers | Controller/driver compatibility and load | Use matched dimmer/controller and reduce load per channel |
Bench Test Before Final Installation
Do not wait until the stone, acrylic, or cabinet is closed before testing. Connect the sheet, power supply, controller, and dimmer on the bench first. Then test again after mounting, and once more before closing the final face material.
For quantity and system planning, use the LED light sheet calculator, LED power supplies, and LED controllers pages.
When Not to DIY
Do not DIY mains-voltage wiring, inaccessible sealed power supplies, bathroom electrical zones, complex smart-home control, or large commercial stone walls unless you have the proper electrical and installation qualifications. Low-voltage sheet placement may be simple; the full system still needs safe electrical planning.
For project review, send dimensions, photos, control requirements, and power location through the LED light sheet quote request page.
A Practical First-Time Installation Sequence
For a first-time installer, the safest workflow is to prove the system in stages. First test every LED light sheet on the bench. Then test the power supply and controller. Then lay out the sheets on the actual backing surface without removing adhesive. Only after position, polarity, brightness, and cable exits are confirmed should the sheets be fixed permanently.
After mounting, test again before closing the face material. This second test catches connector movement, polarity errors, damaged cut sections, or cable strain caused during installation. For stone and acrylic projects, this step is non-negotiable because the face material may hide the electrical system completely.
How to Troubleshoot Without Guessing
When something does not work, isolate one variable at a time. Do not replace all parts randomly. First confirm power supply output voltage. Then test one sheet directly with the correct polarity. Then add the controller. Then add the longer cable run. This sequence tells you whether the issue is the sheet, controller, power supply, polarity, connector, or voltage drop.
- If nothing lights, check PSU output, polarity, and connector seating.
- If one section is dark, inspect cutting lines and connector points.
- If the far end is dim, check voltage drop and power injection.
- If dimming flickers, check controller compatibility and load.
- If dots or lines are visible, review cavity depth, diffuser, and sheet spacing.
Small dry indoor installations can often be handled by a careful DIY user. Large stone walls, bathroom-adjacent projects, CCT/RGB systems, smart controls, and mains-voltage wiring should involve a qualified installer or electrician. Before ordering, use the LED light sheet calculator and prepare the details listed in the RFQ drawing checklist.