
Project Images and Layout References
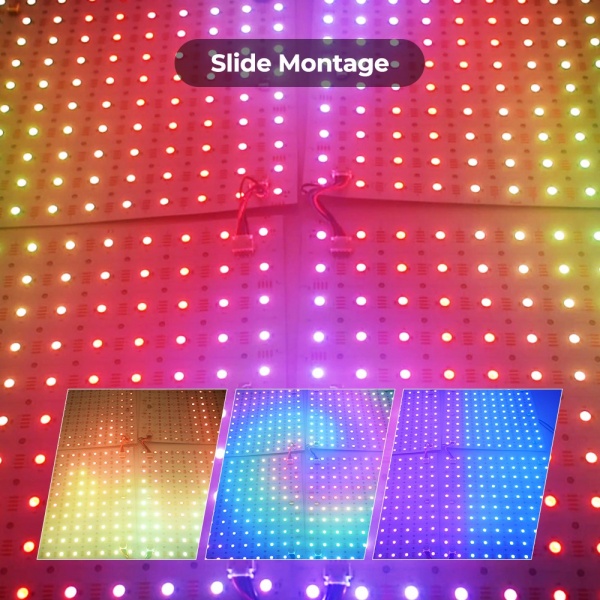
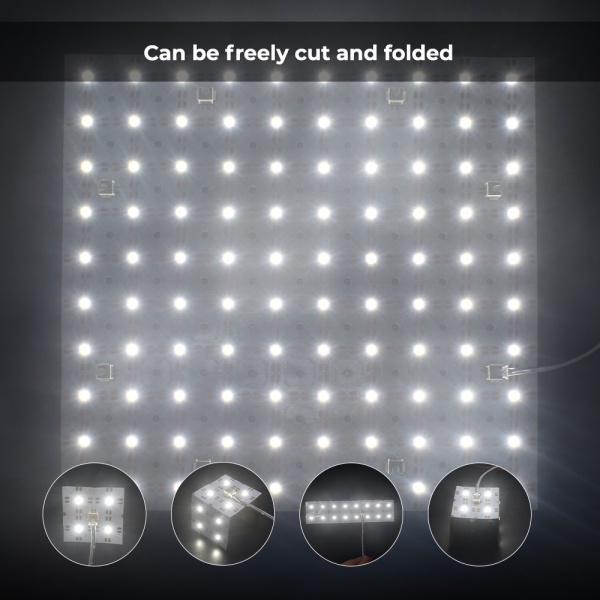
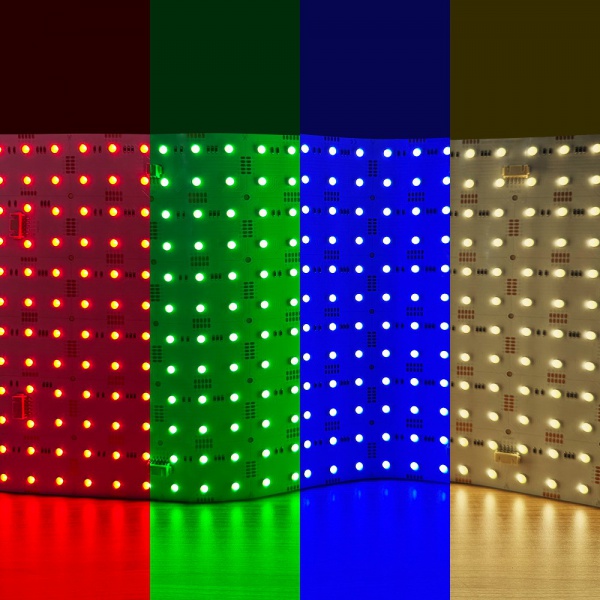
Backlit translucent stone fails most visibly when the lighting is uneven. A beautiful onyx slab, marble panel, reception desk, bar face, or luxury kitchen island can quickly look cheap if the front surface shows LED dots, strip shadows, dark corners, bright seams, or frame-edge shadows.
This guide explains how to reduce those risks with flexible PCB LED light sheets, sample testing, cavity planning, diffusion, power zoning, and practical installation checks. It is written for stone fabricators, designers, contractors, sign shops, millwork teams, and project buyers who need a reliable B2B selection process instead of a simple brightness claim.
Quick Answer
To backlight translucent stone without obvious hotspots, test the exact slab first, use a broad and evenly distributed light source, keep enough diffusion distance, avoid hard edge shadows, divide large areas into serviceable zones, and verify the result at the intended dimming level. LED light sheets help, but the stone, cavity, wiring, and installation details still decide the final appearance.
Why Hotspots Happen Behind Translucent Stone
Hotspots are rarely caused by one factor alone. In real projects, the visible problem is usually a combination of stone translucency, LED spacing, cavity depth, reflector behavior, frame geometry, cable routing, dimming level, and how much veining or resin is inside the slab.
A stone sample that looks evenly lit in a small showroom mockup may behave differently at wall scale. Large surfaces expose voltage drop, inconsistent feed points, cabinet shadows, and installation tolerances. Countertops and bar fronts add another risk: the viewer is often close to the surface, so small bright marks become easier to see.
| Visible issue | Likely cause | Design response |
|---|---|---|
| LED dots or bright spots | Light source too close, too directional, or too sparse | Use a more distributed source, add diffusion, or increase cavity depth |
| Vertical or horizontal striping | Strip pitch visible through translucent material | Compare with the LED light sheet vs LED strip comparison and test a sheet layout |
| Dark corners | Frame shadow, missing feed area, or blocked reflector | Move support structure away from the visible field or add edge compensation |
| Color shift through veins | Natural stone thickness and mineral variation | Approve the exact slab under the intended CCT and dimming level |
| One side dimmer | Voltage drop or overloaded run | Review feed points and reduce voltage drop in large LED light sheet installations |
Why LED Light Sheets Help, But Do Not Magically Fix Every Stone
LED light sheets are useful because they spread LEDs across the illuminated area instead of concentrating light in a few strips. This can reduce dotting and make shallow backlighting cavities easier to design. For material-level guidance, compare this article with the translucent stone backlighting page and the backlit onyx LED light sheet page.
However, a sheet layout should still be tested. Very translucent onyx can reveal even small brightness differences. Dense marble or quartzite may need more output and careful edge treatment. A heavily veined slab can create its own dark and bright pattern even when the LED system is uniform.
Design Decision Table for Stone Backlighting Uniformity
| Decision | Better practice | Risk if ignored |
|---|---|---|
| Stone approval | Test the actual slab or a representative offcut | A catalog photo does not predict light transmission |
| Light source | Use broad, distributed illumination where the cavity is shallow | LED dots or strip lines become visible |
| Cavity depth | Confirm by mockup instead of guessing a universal number | The project may need redesign after stone is fabricated |
| Diffusion | Use diffuser, reflective backing, or spacing when the sample requires it | Hotspots may remain even with high-quality LEDs |
| Power zones | Divide large panels into labeled zones | Dim areas, voltage drop, and difficult service |
| Service access | Keep drivers and controllers reachable | Finished stone may need removal for a simple driver issue |
Step-by-Step Planning Process
1. Test the Stone Before You Promise the Look
Start with a real stone sample, not only a rendering. Check the slab at the intended viewing distance, from both straight-on and side angles. Look for dense veins, resin patches, edge darkening, and color shift. Record the sample thickness, LED color temperature, dimming level, and cavity depth.
2. Estimate the Layout and Power Before Fabrication
Use the backlit stone LED calculator for a first backlit stone estimate, then check total sheet area and driver capacity with the LED light sheet calculator and power supply calculator. These tools are planning aids; final wiring and driver selection should be confirmed from the actual product datasheet and local electrical requirements.
3. Divide Large Surfaces Into Testable Zones
Large stone walls, bar counters, and reception desks should not depend on one hidden power run. Zoning lets you test each section, adjust dimming, reduce voltage-drop risk, and troubleshoot without opening the whole installation. Use the power supply and controller guide when dimming, CCT, RGBW, or multi-zone control is involved.
4. Control Edge Shadows and Structure Shadows
Frames, stone supports, cable exits, silicone beads, and dense mounting points can all create shadows. Keep the visible stone field clear of abrupt obstructions where possible. When a support must cross the back of the stone, test it in the same location and orientation as the final installation.
5. Approve the Final Mockup at the Intended Dimming Level
A layout that looks even at full output can reveal striping at low dimming levels, especially with some PWM controllers or warm dimming preferences. Approve the mockup at the brightness the client will actually use, and photograph the result before production.
Common Mistakes to Avoid
- Promising a perfect hotspot-free result before testing the actual stone.
- Using a bright LED strip layout in a shallow cavity and expecting diffusion to solve everything.
- Ignoring the stone’s veining, resin, thickness, and color shift under backlight.
- Placing drivers and controllers behind finished stone with no service access.
- Running a large illuminated surface from one long low-voltage feed without checking voltage drop.
- Skipping installation planning; review how to cut and install flexible LED light sheets before closing the panel.
When to Use This Guide Versus the Complete Design Guide
This article focuses on uniformity problems: hotspots, dark zones, visible stripes, edge shadows, and sample approval. For the full specification process, including application types, quote inputs, and broader material planning, use the complete backlit stone design guide. If your project is ready for review, send drawings, stone details, visible dimensions, and control requirements through the request a drawing review.
FAQ
Can translucent stone be backlit with no hotspots at all?
A well-designed LED light sheet layout can greatly reduce visible hotspots, stripes, and dark areas, but no supplier should promise a universal perfect result for every stone. The final appearance depends on stone translucency, veining, thickness, cavity depth, diffusion, power zoning, and sample approval.
Are LED light sheets better than LED strips for backlit stone?
LED light sheets usually create a more distributed light source than strips in shallow cavities, so they are often easier to use behind onyx, translucent marble, quartzite, acrylic, and resin panels. LED strips can still work in deeper cavities or smaller details when the spacing and diffusion are correct.
How much distance is needed between the LED and the stone?
There is no single safe distance. Thicker or less translucent stone may need more output, while very translucent material can reveal the light source more easily. Test the actual stone sample with the intended LED sheet, cavity depth, and diffuser before approving production.
Do all stone materials work with backlighting?
No. Some slabs look beautiful when backlit, some shift color strongly, and some block too much light. Onyx and some translucent marbles are common candidates, but every slab should be tested because veining, resin filling, and thickness can change the result.
What should be checked before closing the wall, counter, or panel?
Check brightness uniformity, dimming range, edge shadows, cable exits, driver access, thermal space, voltage drop, and zone labels. Photograph the approved test result and keep the wiring map with the project file.