
Backlighting translucent stone with LED light sheets is a design and engineering decision, not a simple square-foot purchase. A good result depends on the real stone sample, thickness, veining, cavity depth, diffusion, LED sheet layout, power zones, cable exit, and the way the slab will be serviced after installation.
This guide is for stone fabricators, interior designers, contractors, sign makers, and project buyers planning onyx walls, translucent marble panels, quartzite features, resin stone, acrylic stone, bar counters, reception desks, and luxury interior panels. For a broader planning framework, start with the complete LED light sheet for backlit stone guide; for early sizing, use the backlit stone LED calculator.
Quick Answer
To backlight translucent stone with LED light sheets, first test the actual slab, then plan the visible area, cavity depth, diffusion, sheet layout, voltage, power zones, and cable exits as one system. LED light sheets can reduce striping and hotspot risk, but the final effect still depends on stone translucency, thickness, veining, and installation access.
What Makes Translucent Stone Different
Translucent stone does not behave like a printed sign face or a flat acrylic diffuser. Natural veining, cloudy areas, mineral density, resin backing, and thickness can all change how light travels through the slab. Two pieces sold under the same stone name may produce different brightness, color shift, and shadow behavior.
That is why translucent stone backlighting LED light sheets should be treated as a system: material plus light source plus structure plus electrical plan. If the project is specifically onyx, compare the notes on backlit onyx LED light sheets before approving the final color temperature.
Engineering Decision Table
| Decision | What to check | Practical guidance |
|---|---|---|
| Stone sample | Real slab, thickness, backing, vein density | Approve lighting with the actual sample whenever possible |
| Cavity depth | Distance from LED surface to stone back face | Shallow spaces usually need a wider, more even light source and may still need diffusion |
| Diffuser | Acrylic, film, air gap, or stone backing | Use it to soften LED points, but test brightness loss and color shift |
| LED sheet layout | Visible area, cut marks, joints, dark borders | Cover the visible zone evenly and avoid random cutting |
| Power zones | Total wattage, cable length, feed points | Split large walls or counters into serviceable zones |
| Maintenance | Driver access, controller access, removable panels | Do not bury all electrical components behind fixed stone |
Start with the Stone Sample
The sample test should answer practical questions before the layout is quoted: Does the slab pass enough light? Do veins create bright or dark streaks? Does warm white make the stone too yellow? Does cool white make it too cold? Are the edges darker than the center? Does the selected brightness level feel comfortable in the real room?
A useful sample test does not need to pretend to be a finished project. It can be a small test board with one or two LED sheet options, a temporary diffuser, and several color temperatures. The goal is to approve direction and avoid surprises before the stone is cut or the wall is closed.
Plan Layers, Cavity Depth, and Visible Area
Start from the visible illuminated area, not the full stone slab size. Frames, returns, support structure, seams, and hidden overlaps may not need the same light coverage. Mark the area that must glow, the areas that must stay dark, and the locations where wires can safely exit.
flexible PCB LED light sheets are useful because they create a broad lighting plane behind the stone. Compared with a strip-only layout, this can make shallow cavities easier to manage. The result still depends on LED pitch, surface reflectance, diffuser choice, and how close the sheet is to the stone.
- Confirm which cut lines are allowed for the selected LED sheet model.
- Avoid placing a sheet joint directly under a visually critical stone vein.
- Keep dark frame borders out of the visible illuminated area.
- Leave enough space for wire bends and strain relief.
- Test the stone at the intended viewing distance and dimming level.
Power, Wiring, and Control Planning
Power planning should happen before installation, not after the stone is mounted. Use the LED light sheet calculator or backlit stone LED calculator for early quantity estimates, then use the power supply calculator to estimate driver capacity. For controller selection, check the power supply and controller guide so the dimmer, CCT controller, RGBW controller, or DMX decoder matches the LED sheet.
Large surfaces should normally be divided into zones. Zoning reduces voltage-drop risk, simplifies troubleshooting, and prevents one driver or controller from becoming a hidden single point of failure. Each zone should be labelled before the final face material is closed.
| Symptom | Common cause | What to review |
|---|---|---|
| One side looks dim | Voltage drop, long wire run, or overloaded zone | Feed points, wire gauge, driver size, controller rating |
| Visible dots | Stone too close to LEDs or not enough diffusion | Cavity depth, diffuser, LED pitch, sample approval |
| Dark edge shadow | Frame overlap or LED sheet does not cover visible edge | Visible area drawing and sheet placement |
| Color looks wrong | Stone changes the apparent color temperature | Warm, neutral, cool, or tunable white sample test |
Installation Workflow for Backlit Stone
Before cutting or mounting anything, review the product datasheet and the project drawing. The installation team should know where sheets can be cut, where cables exit, where drivers sit, and how each zone will be tested. For hands-on steps, see how to cut and install flexible LED light sheets.
- Measure the visible opening and confirm the stone orientation.
- Build or prepare the mounting surface so it is clean, flat, and reflective enough for the design.
- Dry-fit the LED sheets and mark cable exits before adhesive mounting.
- Connect one zone at a time and test polarity, brightness, and dimming.
- Place the stone or diffuser temporarily and review uniformity before final closure.
- Record driver locations, zone labels, voltage, controller type, and service access.
Common Mistakes
Most backlit stone problems come from treating the lighting as an accessory instead of part of the construction system. The expensive mistake is approving stone, framing, wiring, and drivers separately, then discovering that the finished surface has visible dots, dark borders, or dim ends.
- Assuming every onyx, marble, or quartzite slab will transmit light the same way.
- Using a square-foot estimate as the final layout without checking cable exits and cut marks.
- Hiding drivers and controllers where they cannot be serviced later.
- Promising no hotspots before testing the real stone and installation depth.
- Ignoring voltage drop until the final wall, bar, or counter is already closed.
When to Request Drawing Review
Request drawing review when the project has multiple stone panels, tight cavity depth, curved or irregular shapes, long cable runs, RGBW or tunable white control, wet-area exposure, or strict luxury interior expectations. The request a project quote page is the right next step when you can provide size, material, thickness, quantity, target color temperature, voltage preference, and installation notes.
If you are still comparing lighting methods, read the LED light sheet vs LED strip comparison before deciding between LED light sheets and LED strips. The better choice is usually the one that gives the project the most predictable result with the fewest hidden installation risks.
Reference Images for Planning Discussion
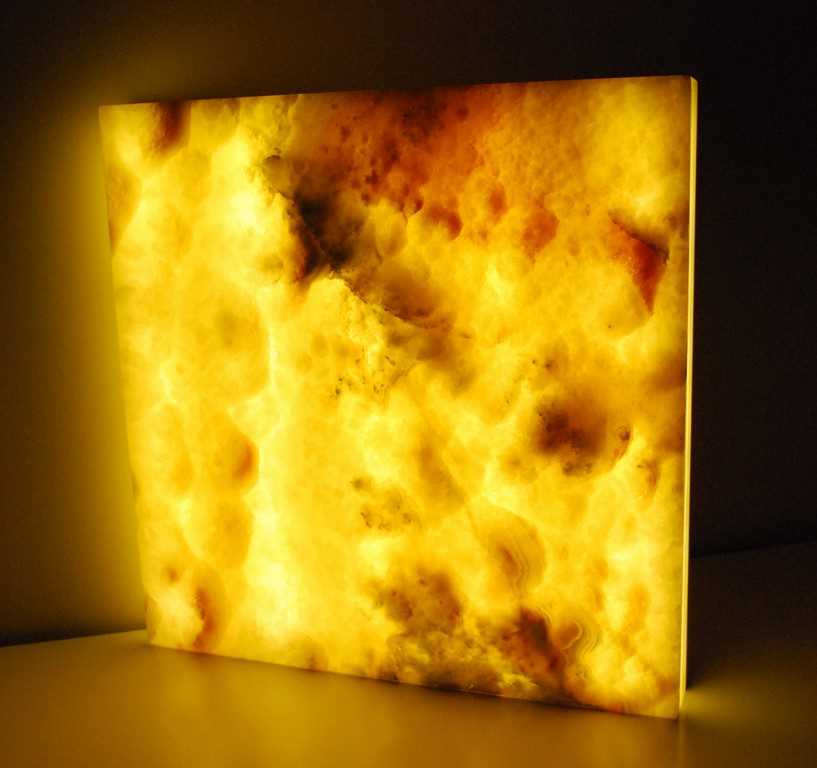
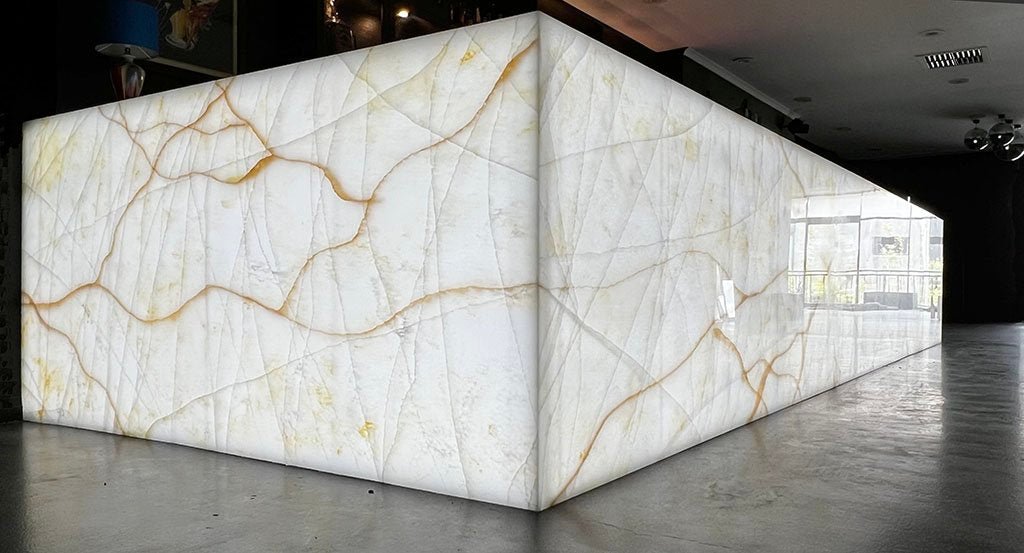
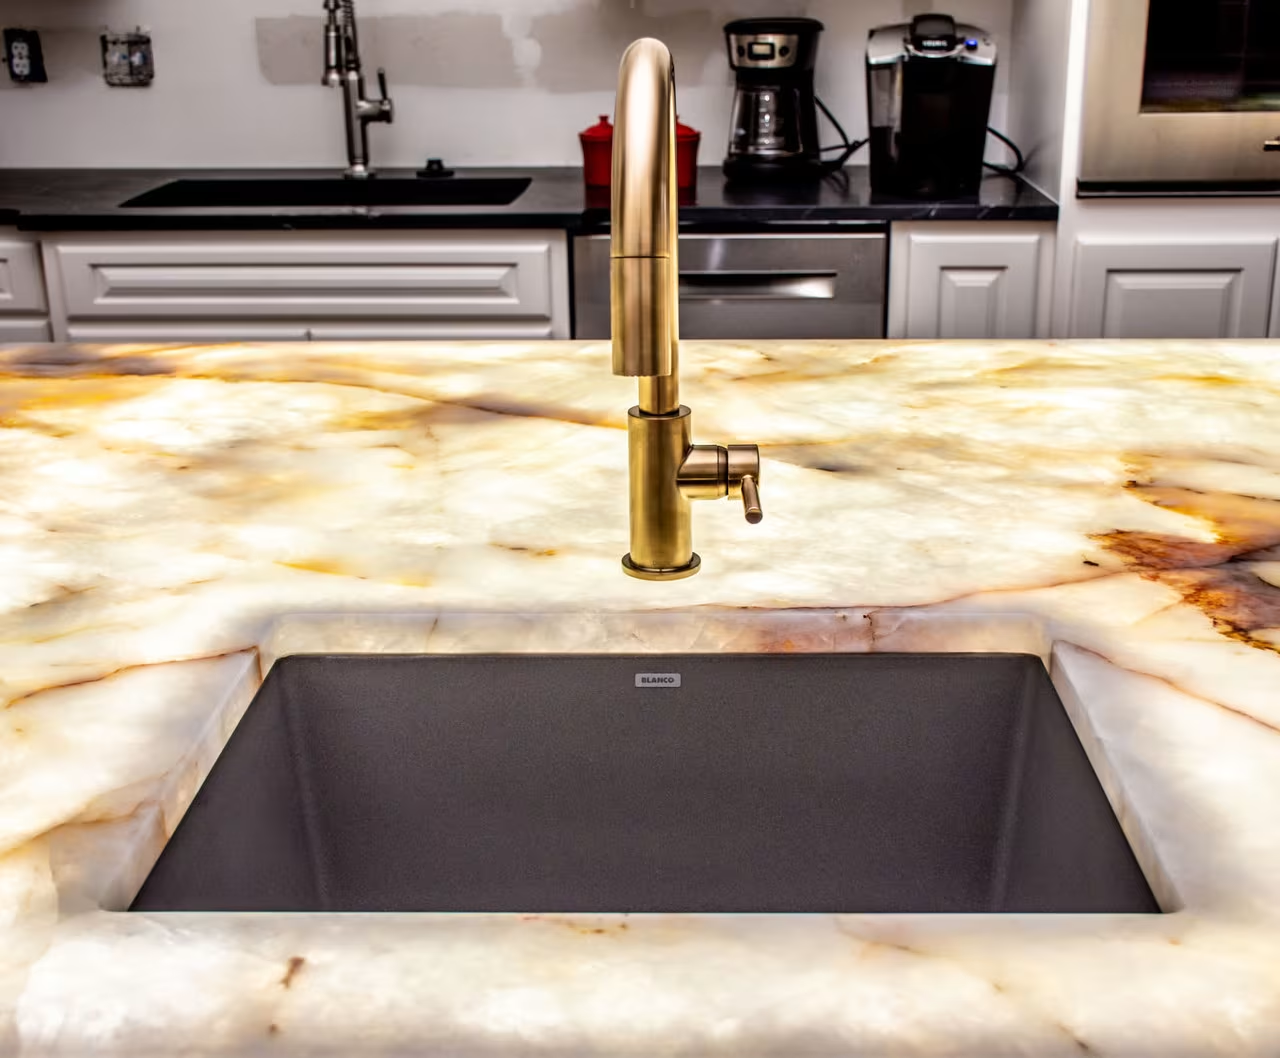
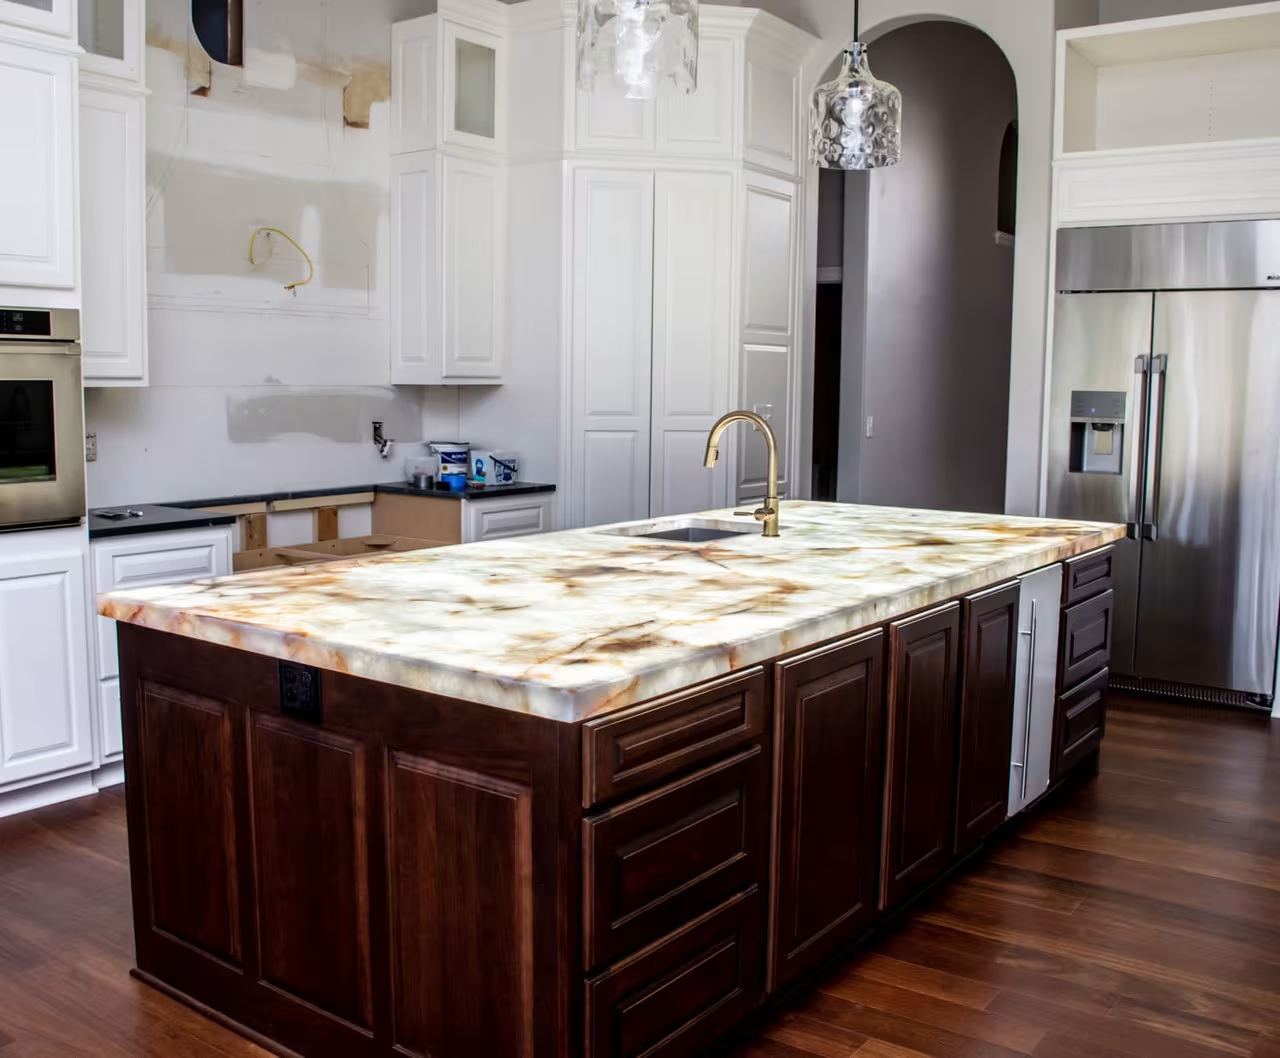
The following reference images show typical translucent-stone visual conditions. They are for design discussion only; final brightness, color, and hotspot behavior must be checked with the real slab.
FAQ
Can all translucent stone be backlit with LED light sheets?
No. Many translucent stones can be backlit, but the result depends on the real slab, thickness, veining, resin backing, color, and installation depth. Dense or inconsistent material may need sample testing or a different lighting plan.
How far should LED light sheets be from translucent stone?
There is no universal distance. The required cavity depth depends on LED pitch, diffuser use, stone translucency, and brightness target. Test the real material before confirming production.
Do LED light sheets guarantee no hotspots?
No. LED light sheets can reduce hotspot risk compared with poorly spaced strip layouts, but no supplier should guarantee 100 percent no hotspots for every stone and every construction depth.
Should I use warm white or cool white behind stone?
Warm white often suits amber onyx and hospitality interiors, while neutral or cool white may suit pale stone or retail displays. The visible result should be checked with the real sample.
What information is needed for a backlit stone quote?
Send visible size, slab size, stone type, thickness, desired color temperature, voltage preference, installation depth, cable exit location, control method, and drawings if available.