
Visual Reference for This LED Light Sheet Topic
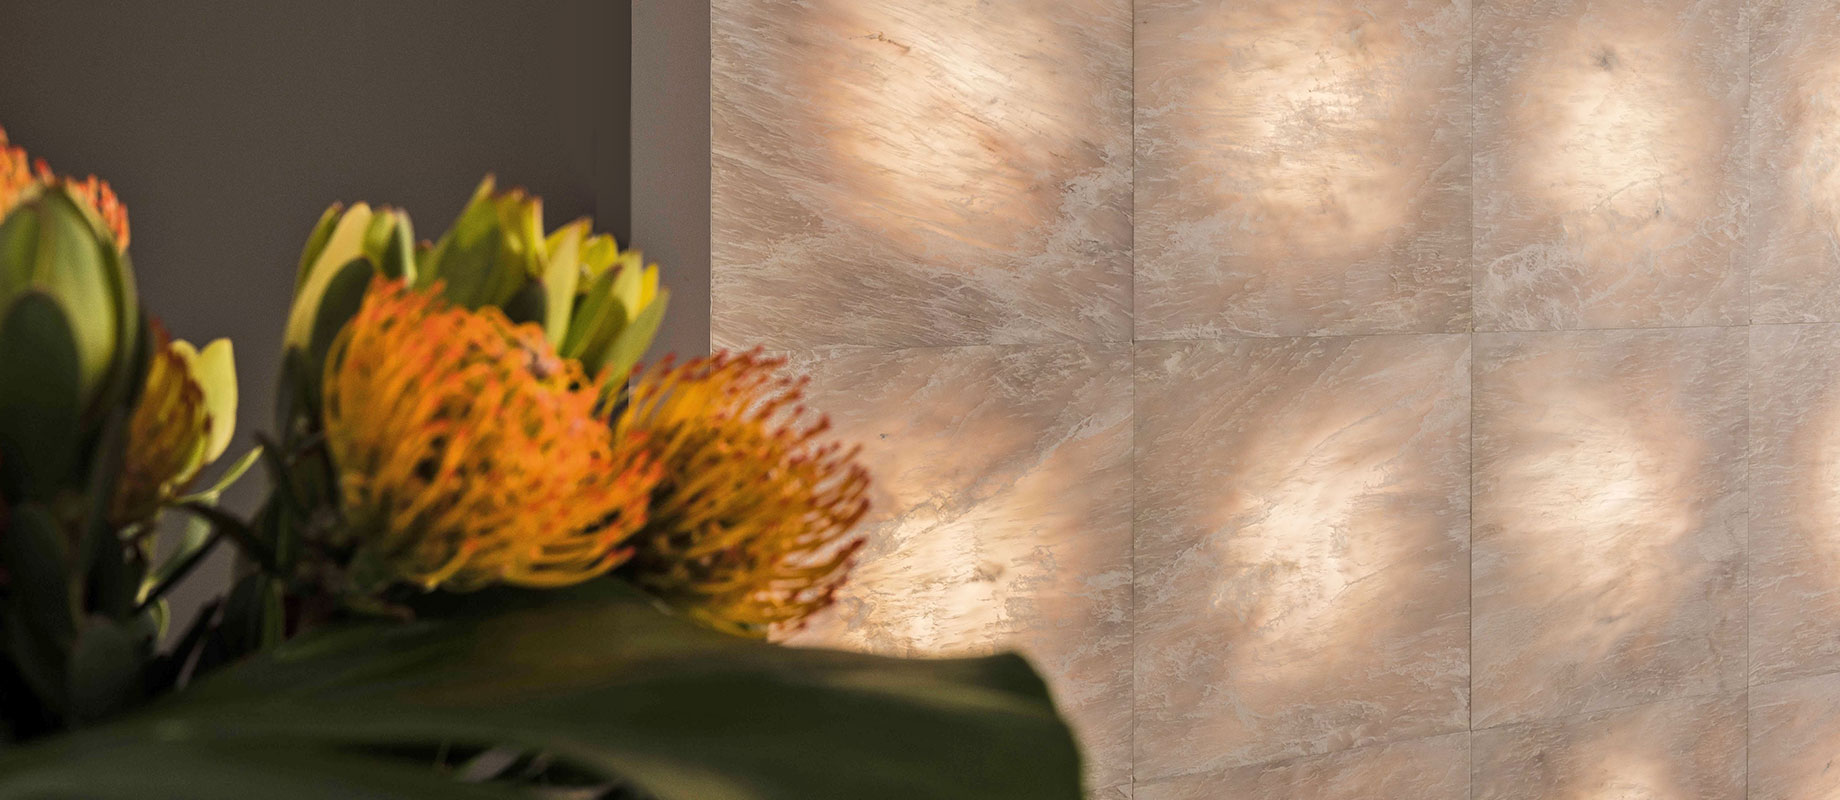
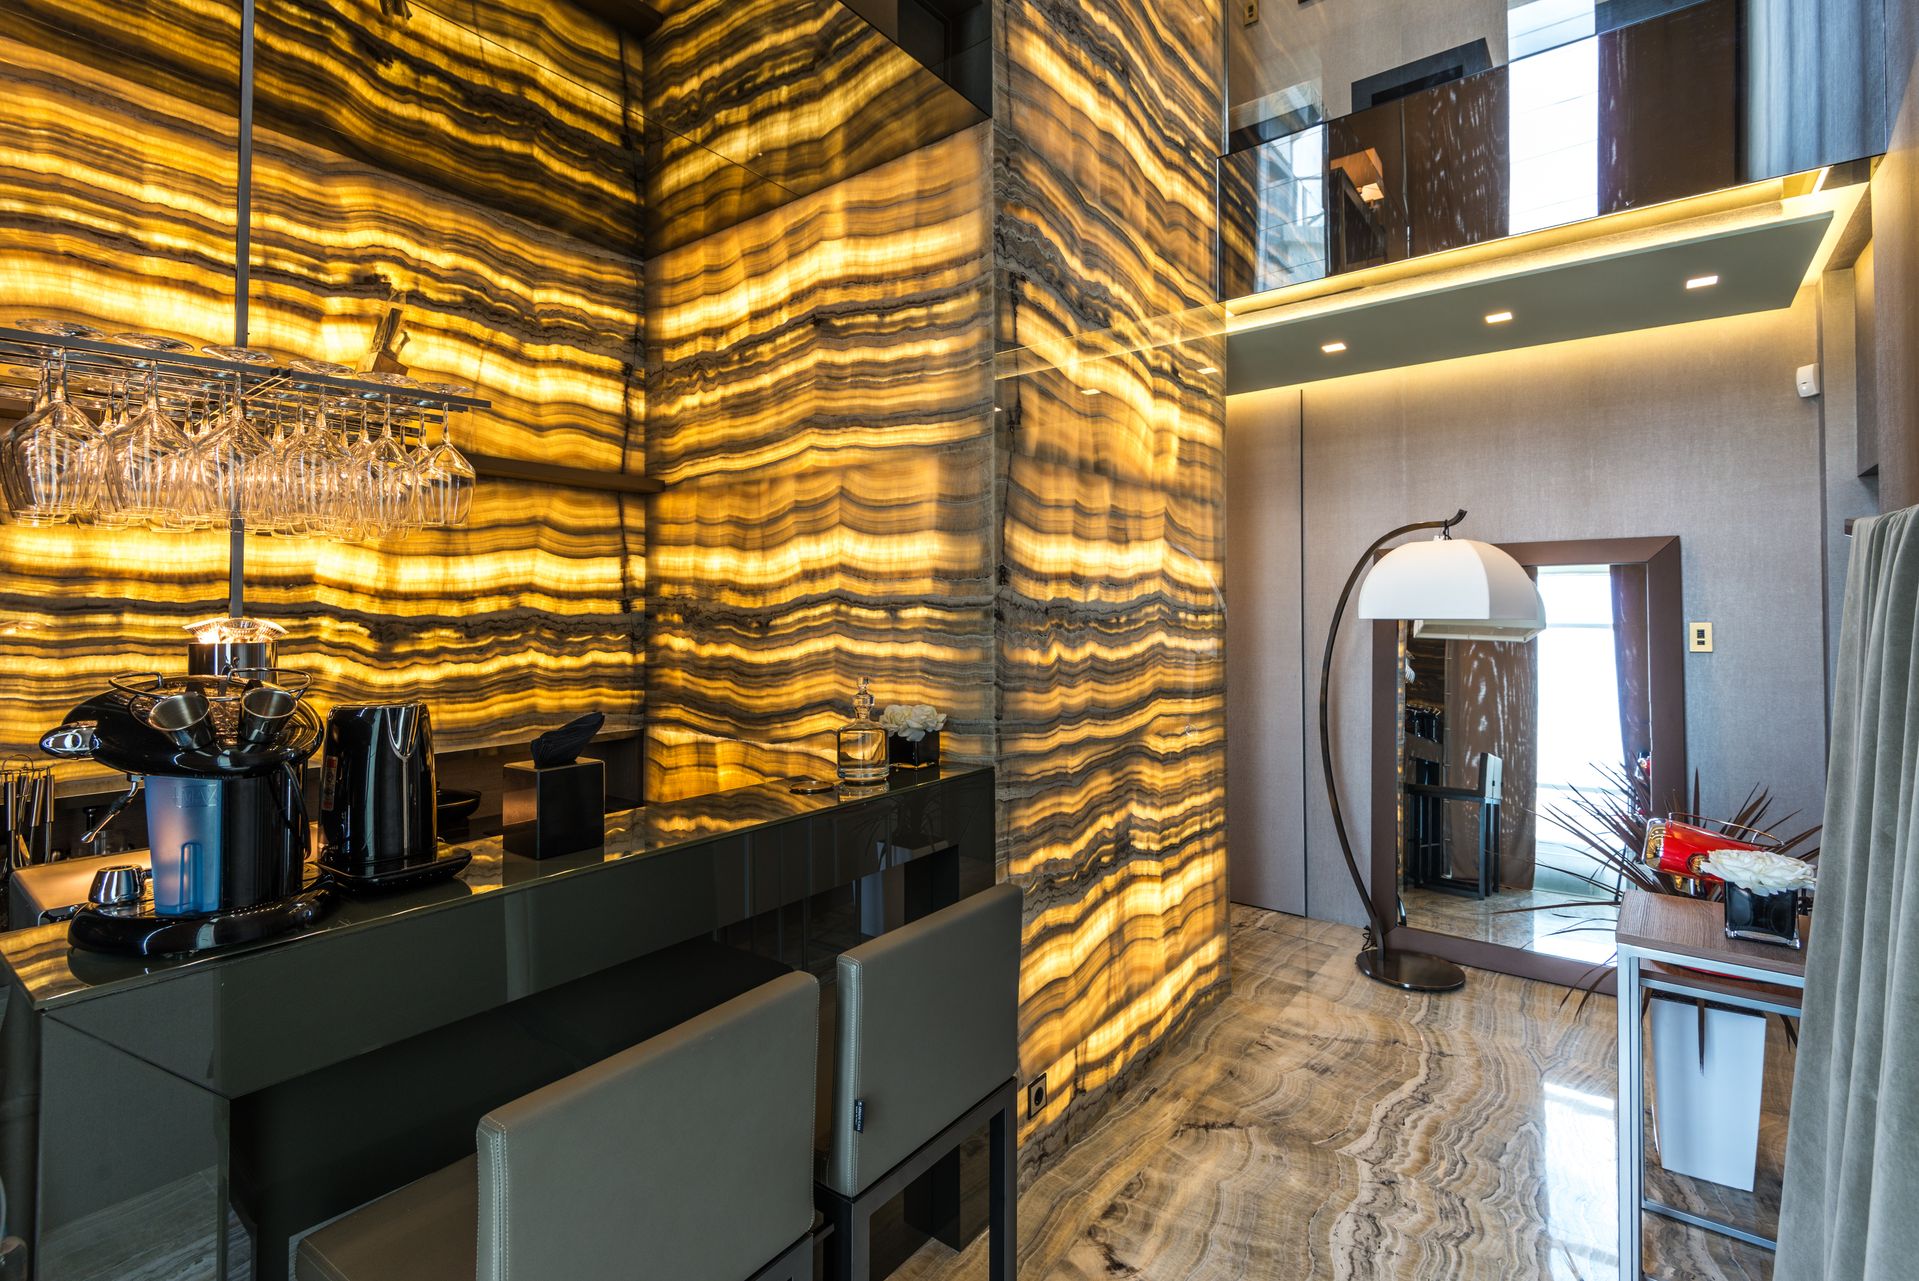
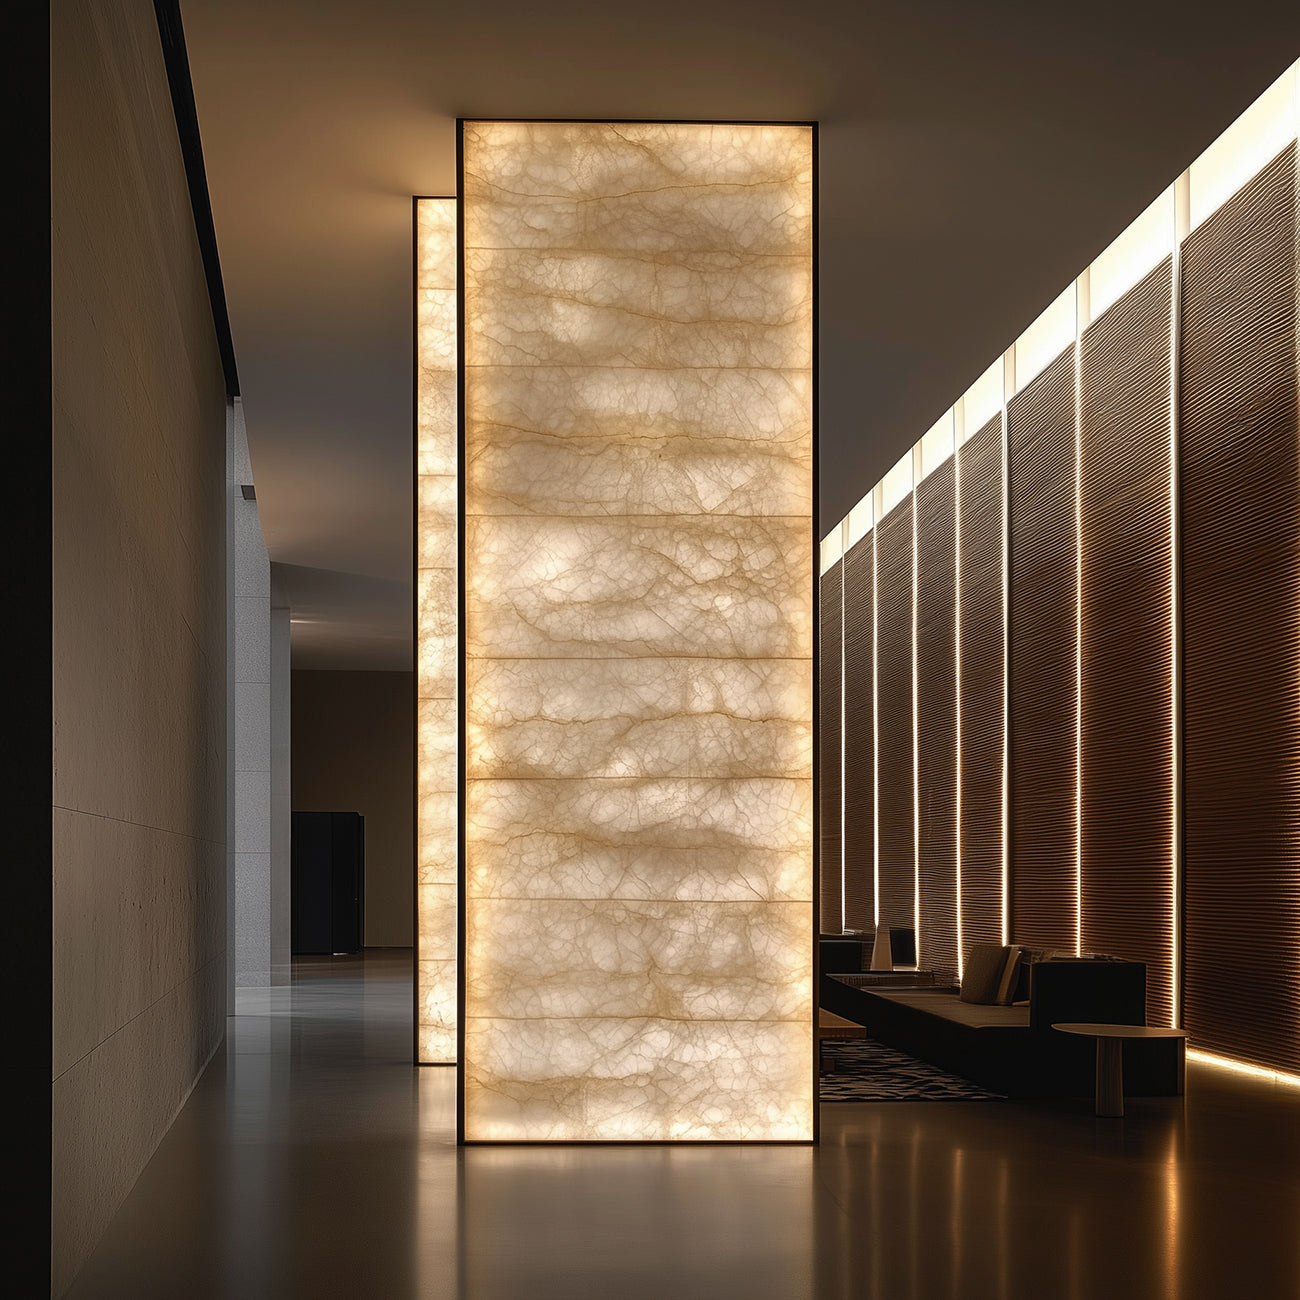
Dark, thick, or heavily veined stone can sometimes be backlit successfully, but only when the stone has enough translucency and the project accepts natural light-dark variation. The goal should not be to make natural stone glow like milky acrylic. A better goal is continuous overall illumination with no LED dots, no straight seam shadows, no stud lines, and no power-related dimming.
Increasing LED wattage alone will not solve opaque stone. If dark mineral bands do not transmit light, adding more power may only over-brighten the light areas, reveal dots, and still leave dense dark areas dim. Stone selection, thickness, cavity depth, diffuser design, and mockup testing matter more than raw wattage.
Define Uniformity Correctly
In natural stone backlighting, uniformity should mean that the panel glows smoothly as a design surface while preserving the character of the stone. It should not mean every point has identical brightness. Veining, mineral density, color, thickness, and resin repairs naturally change how light passes through the slab.
| Visual result | Usually acceptable? | Reason |
|---|---|---|
| Natural veins slightly darker | Yes | Part of the stone’s character. |
| Mineral layers visible under light | Yes | Often the reason designers choose backlit stone. |
| Visible LED beads | No | Usually cavity, density, or diffusion problem. |
| Straight dark band at a sheet seam | No | Layout or coverage problem. |
| Bright near power, dim far away | No | Power zoning or voltage drop problem. |
First Gate: Test Stone Transmittance
Never judge backlighting suitability by the stone name alone. Two slabs both called onyx, marble, quartzite, or agate may behave very differently. Even one slab can vary from one area to another.
- Test light areas, dark areas, veins, and edges separately.
- Use a flashlight or small LED sample behind the stone before quoting.
- Measure thickness at several positions instead of trusting nominal thickness only.
- Check for back mesh, epoxy, resin fill, crack repair, and local dark mineral areas.
- For important projects, test with the planned LED sheet, cavity depth, and diffuser structure.
The North America LED light sheet supplier page explains the type of project information needed before layout and quotation.
Thickness Makes the Project Harder
| Stone thickness | Backlighting difficulty | Design response |
|---|---|---|
| 8-12 mm | Lower to medium | Watch for over-bright thin areas and dots. |
| 12-18 mm | Lower to medium | Often easier to balance strength and transmission. |
| 18-20 mm | Medium | Use high-density sheets, reflective cavity, and sample approval. |
| 20-30 mm | Medium to high | Evaluate back-thinning, deeper cavity, and higher output carefully. |
| Over 30 mm | High | Do not proceed without mockup testing. |
| Near-opaque dark stone | Very high | Consider edge lighting, local backlighting, or front lighting instead. |
Use Deeper Cavities for Difficult Stone
For dark, thick, or heavily veined stone, a deeper cavity usually gives light more time to mix before reaching the stone. Around 50 mm is a practical starting point for many premium stone panels. Some difficult materials may benefit from 50-80 mm, especially when the stone is thick, strongly veined, or partly transparent.
If depth is below 25-30 mm, a frosted diffuser layer and high-density sheet should be evaluated. But if the stone itself is dense and non-transmitting, even a diffuser cannot create uniform full-panel glow.
What LED Light Sheets Can and Cannot Fix
| Problem | Can LED light sheets help? | Comment |
|---|---|---|
| Striping from LED strips | Yes | Surface-distributed light reduces linear strip shadows. |
| Visible dot pattern | Often | Requires density, distance, and diffusion design. |
| Seam shadows | Yes, with layout | Seams must avoid high-visibility areas. |
| Voltage drop dimming | Yes, with system design | Use power zones and correct wiring. |
| Opaque dark minerals | No complete fix | Material selection or expectation adjustment is required. |
Recommended Process
- Screen the stone for actual light transmittance.
- Confirm safe thickness and any back-thinning with the stone fabricator.
- Choose LED sheet density and color temperature using real samples.
- Design cavity depth, diffuser layer, and reflective interior surfaces.
- Place seams along veining, slab joints, trim, or hidden shadow zones.
- Plan zoned power, cable routes, controller access, cooling, and maintenance.
- Build a mockup before bulk cutting or sealing panels.
For related planning guidance, see the LED light sheet for backlit stone design guide and backlit onyx LED light sheets.
FAQ
Can dark veins be made as bright as white areas?
Usually not without over-brightening the lighter areas. The better goal is continuous glow with natural veining preserved.
Should I simply use higher wattage?
No. Higher wattage can make thin areas too bright while dense dark areas remain dim. Test transmittance first, then choose sheet density, cavity depth, and diffuser design.
When should I avoid full-panel backlighting?
If the stone is near-opaque, very dark, very thick, or has large dense mineral areas, local backlighting, edge lighting, or front illumination may be more realistic than full-panel glow.