
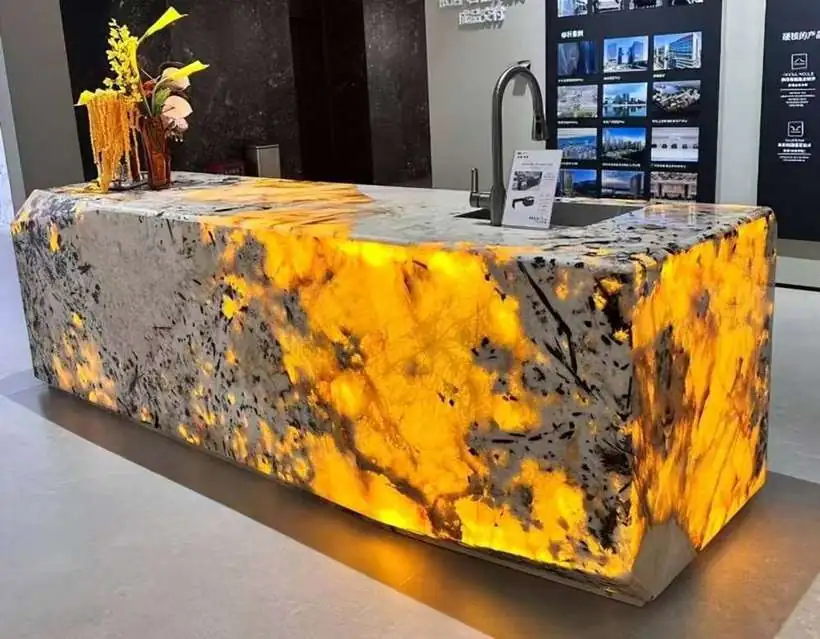
Short answer: in a backlit stone installation, the parts most likely to need attention over the years are the power supply, the controller and the wiring connections, not only the LED sheets. Put those in a cabinet you can open, and most service work never touches the stone. The LED sheets are never stuck to the stone itself: they are fixed to a backing panel or a removable tray with a 30–80 mm air gap to the stone, so the light spreads evenly. A fixed backing panel costs less; a removable tray makes sheet replacement easy. Choose based on how important easy replacement is for the project.
“How do you replace the light when it fails?” is one of the first questions fabricators, electricians and homeowners ask about backlit onyx, marble and quartzite. It is a fair question: a backlit stone countertop, kitchen island or feature wall can weigh hundreds of kilograms, and nobody wants to lift a slab to change a light. This guide explains how to plan a backlit stone project so that service is simple, and what JJS LED Light Sheet does if something goes wrong.
What actually needs servicing in a backlit stone system
A typical backlit stone system has four parts:
- LED light sheets behind the stone. These are low-voltage (24V on most JJS models) and have no moving parts.
- Power supply (LED driver) that converts mains voltage to 24V DC.
- Controller or receiver for dimming, tunable white or RGB.
- Wiring and connectors between them.
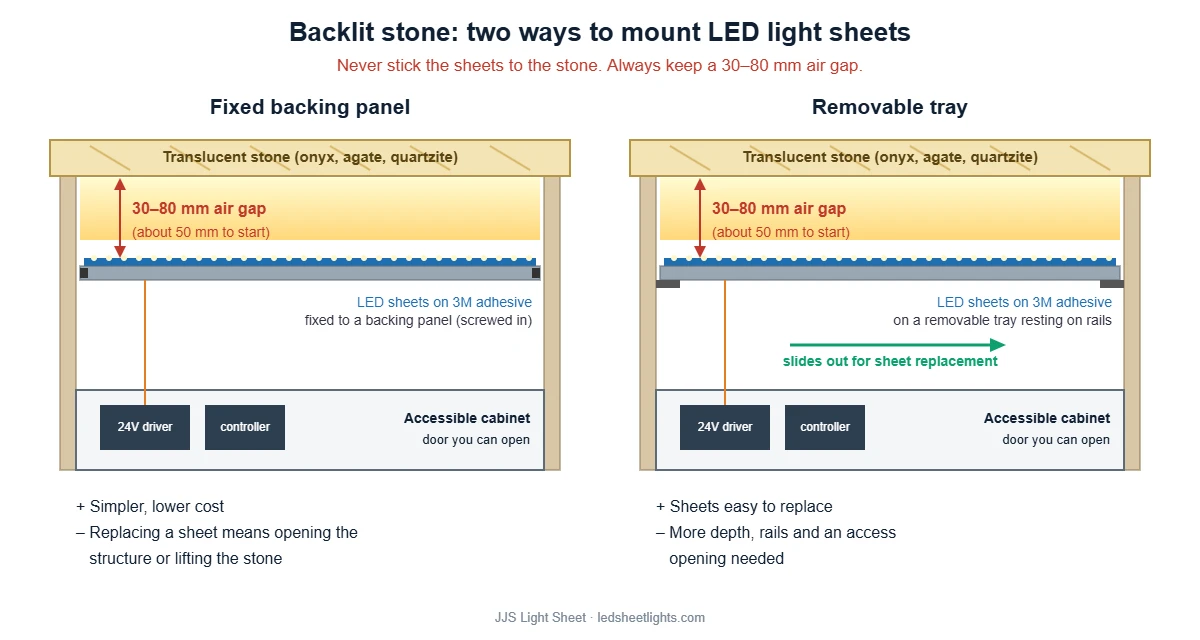
The power supply, controller and connectors are the parts you can design to be reached without touching the stone. The sheets are the only part that sits behind the slab, so the mounting method decides how hard a sheet replacement will be. Whichever method you choose, keep a 30–80 mm gap between the sheets and the back of the stone; around 50 mm is a good starting point.
Two ways to mount LED sheets: fixed backing panel vs. removable tray
| Fixed backing panel | Removable tray | |
|---|---|---|
| How it works | Sheets are fixed with their 3M adhesive to a rigid panel that is screwed in place 30–80 mm behind the stone | Sheets are fixed to an acrylic or aluminum panel that rests on rails 30–80 mm behind the stone and can slide or lift out |
| Gap to the stone | 30–80 mm for both (about 50 mm to start) | |
| Depth needed | The gap plus the panel | The gap plus the tray, rails and room to pull it out |
| Cost and labor | Lower | Higher: tray, rails or fixings, access opening |
| Replacing a sheet | Harder: the panel has to be unscrewed, which may mean lifting the stone or opening the structure | Simple: remove the tray, swap the sheet |
| Driver and controller service | The same for both: keep them in an accessible cabinet | |
Which should you choose? Many residential projects, such as kitchen islands and wall panels, use a fixed backing panel because it is simpler and costs less. For commercial bars, hotel lobbies, large feature walls or any project where downtime is expensive, a removable tray or back panel is worth the extra cost.
Keep power supplies and controllers in an accessible cabinet
This is the single most important decision for long-term service, and it applies to both mounting methods. In a kitchen island, the drivers and controllers can sit inside a base cabinet with a normal door, fixed to the back panel.
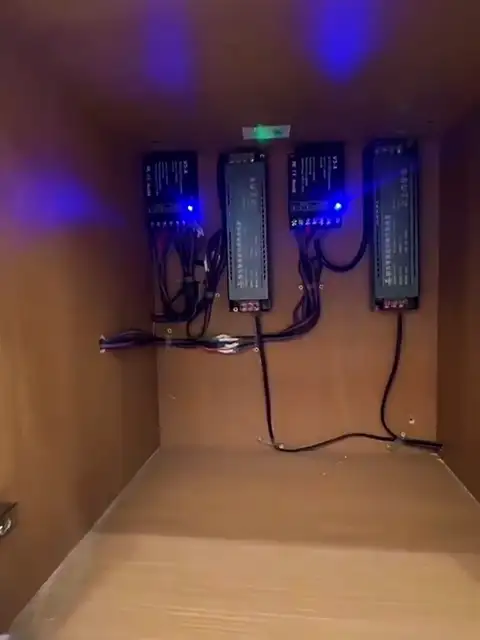
- Fix them to a panel you can reach, not inside a sealed cavity or behind the stone.
- Leave space around each driver for air flow. Drivers produce heat, and closed wooden cabinets trap it.
- Leave slack in the cables so a driver can be unscrewed and pulled forward without disconnecting everything.
- Label each driver and controller with the zone it feeds, for example “island front, left”.
- Use a qualified electrician for the mains side and follow local electrical codes.
If you use a fixed backing panel: test before you close it
A fixed panel is reliable when the installation is checked at each step. Because a sheet on a fixed panel is harder to reach later, these checks matter more than anything else:
- Light every sheet before fixing it. Connect each sheet to a power supply on the bench and check for dark LEDs or uneven color.
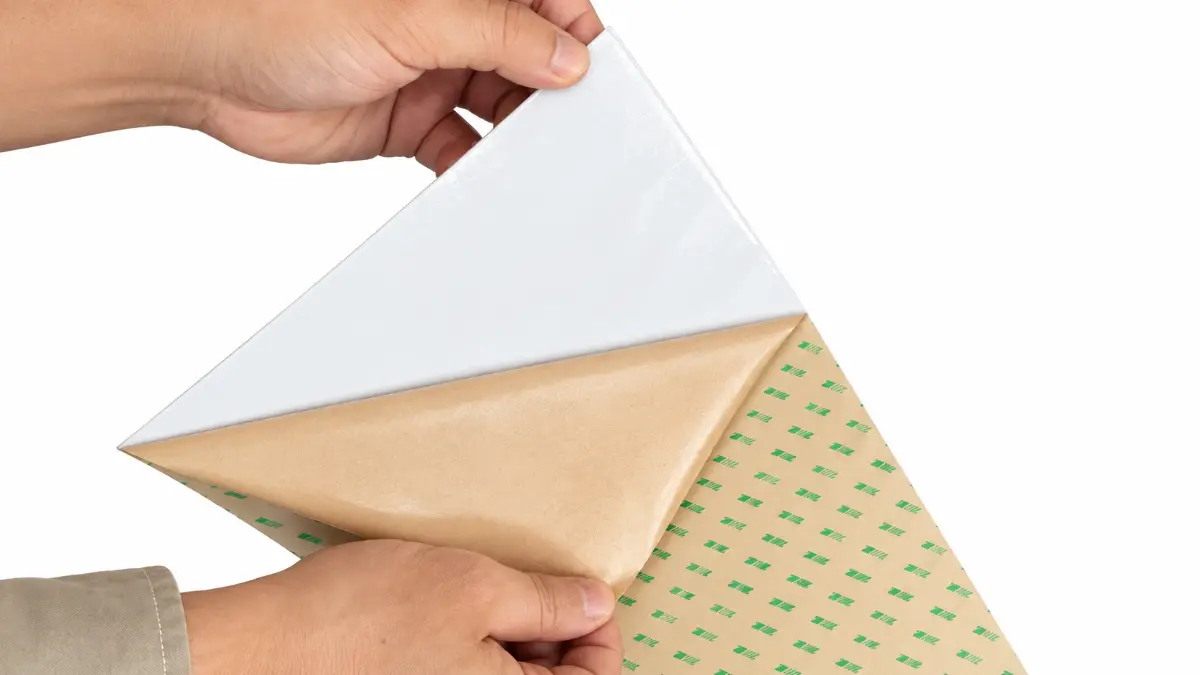
- Fix the sheets to the panel, not to the stone. Use the 3M adhesive on the back of the sheet on a clean, dry, flat panel.
- Set the gap. Mount the panel 30–80 mm behind the stone and keep the distance the same across the whole surface.
- Test again after fixing, before the stone is installed.
- Test once more before the cabinet or wall is closed, with the final power supplies and controller.
- Wire in zones. Split the sheets into several parallel groups so a problem in one group does not switch off the whole surface, and so a fault is easy to locate.
- Photograph the layout. Record where each sheet sits and how the wiring runs before the stone goes on. Hand the photos to the owner.
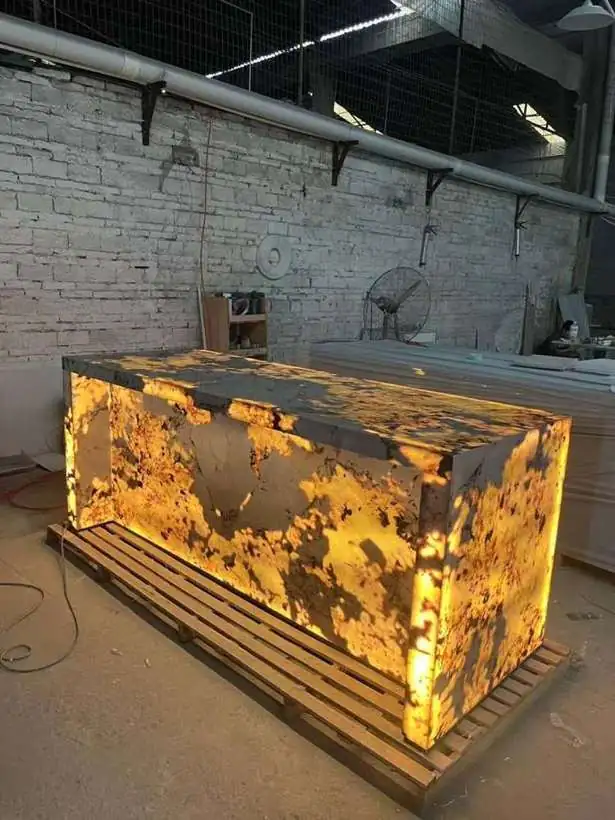
If you need easy replacement: removable tray
With a tray, the LED sheets are fixed to a rigid acrylic or aluminum panel that can be taken out, again 30–80 mm behind the stone. The panel rests on rails or brackets and can be removed from the side, from below or from behind, depending on the design.
- Kitchen islands: plan a removable side or base panel so the tray can be pulled out from inside the cabinet.
- Feature walls: mount the trays on a frame behind the stone, with access from the room behind or from a removable section.
- Keep the light-to-stone distance fixed. The tray must return to exactly the same position, or brightness and evenness will change. See our guide on LED sheet distance and hiding LED dots.
Plan for color matching: keep spare sheets from the same batch
LED color can vary slightly between production batches. A replacement sheet from a later batch may look a little warmer or cooler than the sheets around it, which is very visible through stone.
To avoid this, JJS supplies 1 spare sheet for every 100 sheets ordered, from the same production batch as the project. Keep the spares on site, in their packaging, together with a note of the model number and order date. For larger or high-visibility projects you can order additional spares at the same time.
What happens if something fails: the JJS warranty process
- Send photos or a short video of the problem to sales@ledsheetlights.com or WhatsApp +86 139 2747 5595.
- We reply within 24 hours and help identify whether the cause is a sheet, the power supply, the controller or a connection.
- We send the replacement part. The 5-year warranty covers LED sheets, power supplies and controllers supplied by JJS, and we pay the shipping.
- We guide the replacement step by step, so your installer can fix it quickly.
Checklist for fabricators and installers
- Power supplies and controllers in an accessible cabinet, with space for air flow
- Mounting method agreed with the client: fixed backing panel or removable tray, both with a 30–80 mm gap to the stone
- Every sheet tested before fixing, after fixing and before closing
- Sheets wired in zones, drivers labeled by zone
- Photos of the sheet layout and wiring handed to the owner
- Spare sheets from the same batch stored on site
- Owner told who to contact and what to send if something fails
Frequently asked questions
What happens if an LED sheet fails behind a stone countertop?
First check the power supply, controller and connections in the cabinet, because these can be reached without touching the stone. If a sheet itself has failed, a sheet on a removable tray can be swapped directly; a sheet on a fixed backing panel usually means opening the structure or lifting the stone. Contact JJS with photos and we will help identify the cause within 24 hours.
Can LED sheets be glued directly to the stone?
No. Sheets stuck directly to the stone show the LED dots and give uneven light. Fix them to a backing panel or removable tray with a 30–80 mm gap to the stone; about 50 mm is a good starting point, confirmed with a sample of your stone.
Where should the LED driver go in a kitchen island?
Inside a base cabinet with a door, fixed to a panel you can reach, with space around it for air flow. Never seal the driver inside the cavity behind the stone.
How do I keep the color consistent if I need to replace a sheet later?
Use a spare from the same production batch. JJS supplies 1 spare sheet per 100 sheets ordered for this reason; keep them on site with the model number and order date.
Plan a serviceable backlit stone project
Send us the stone type, thickness and dimensions, and tell us whether the sheets will go on a fixed backing panel or a removable tray. We will reply with a sheet layout, power supply plan and wiring diagram. See real examples on our backlit stone projects page, choose a 24V LED power supply for your light sheets, or use the RFQ page to start.