
Visual Reference for This LED Light Sheet Topic
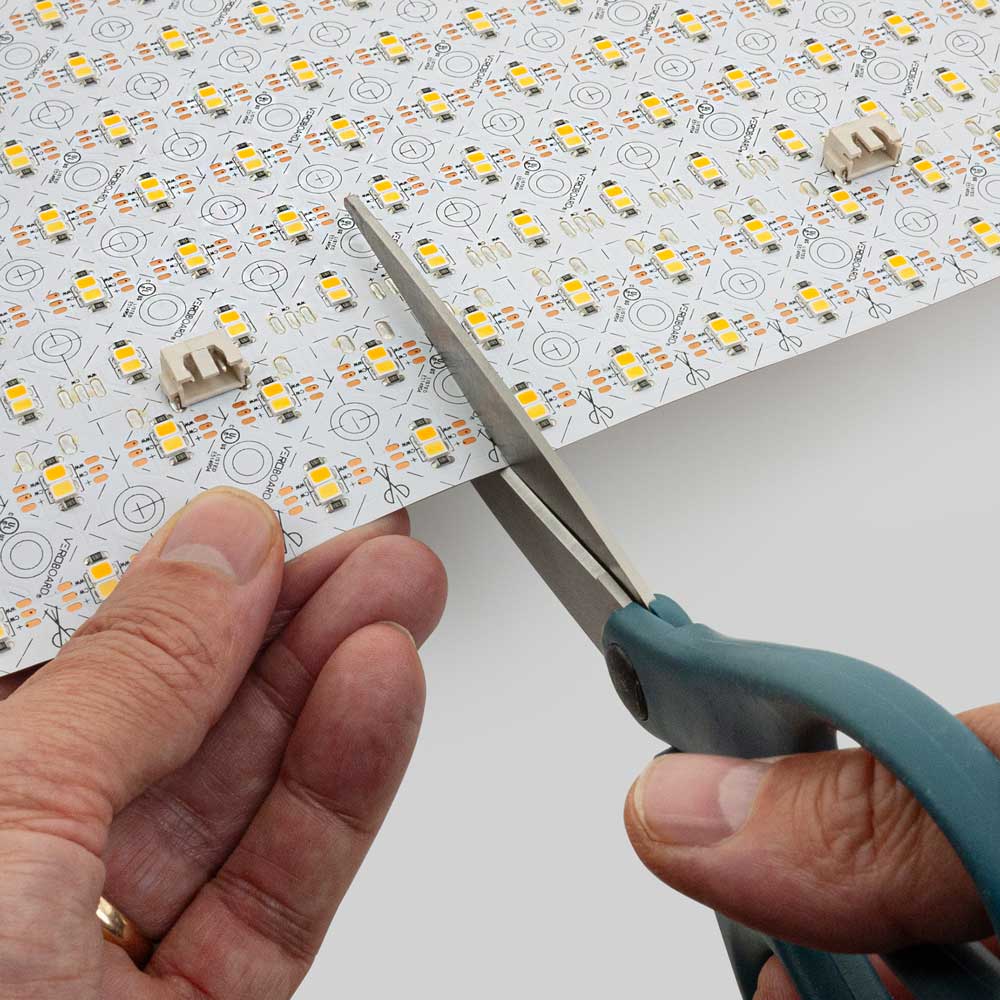
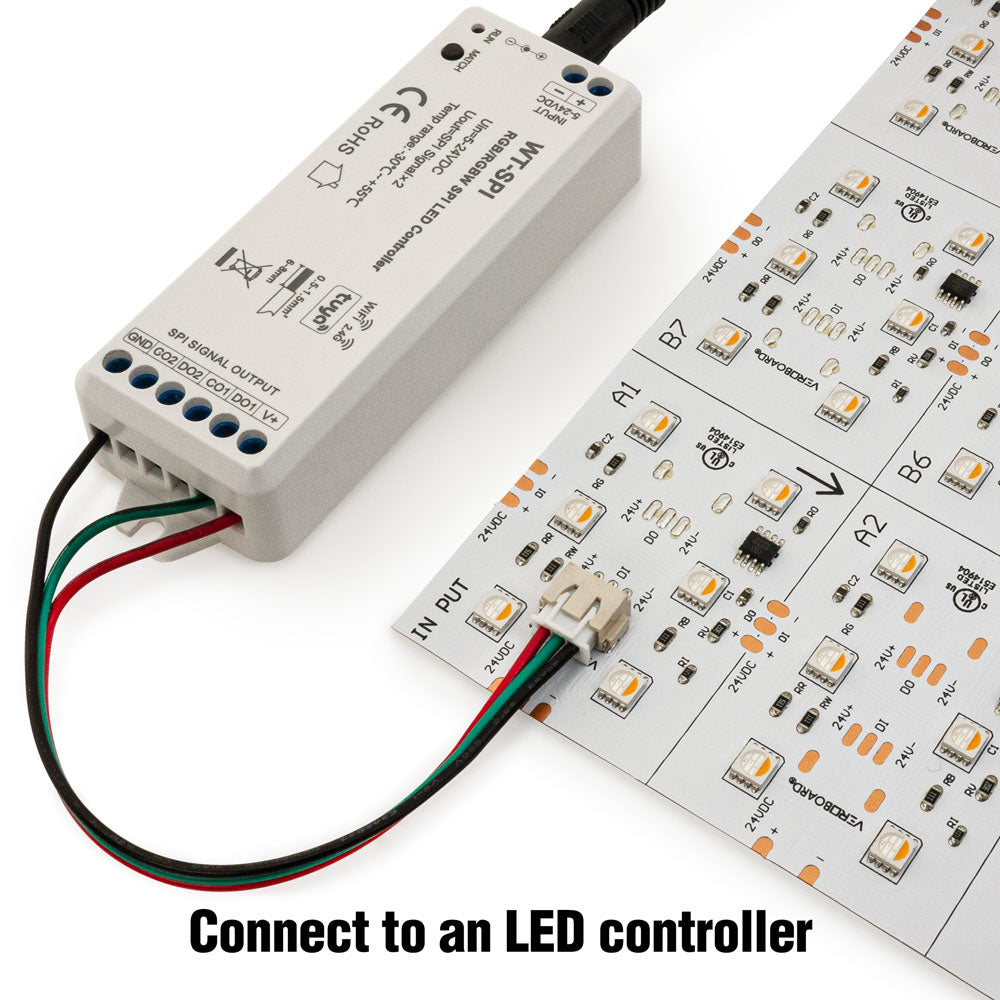
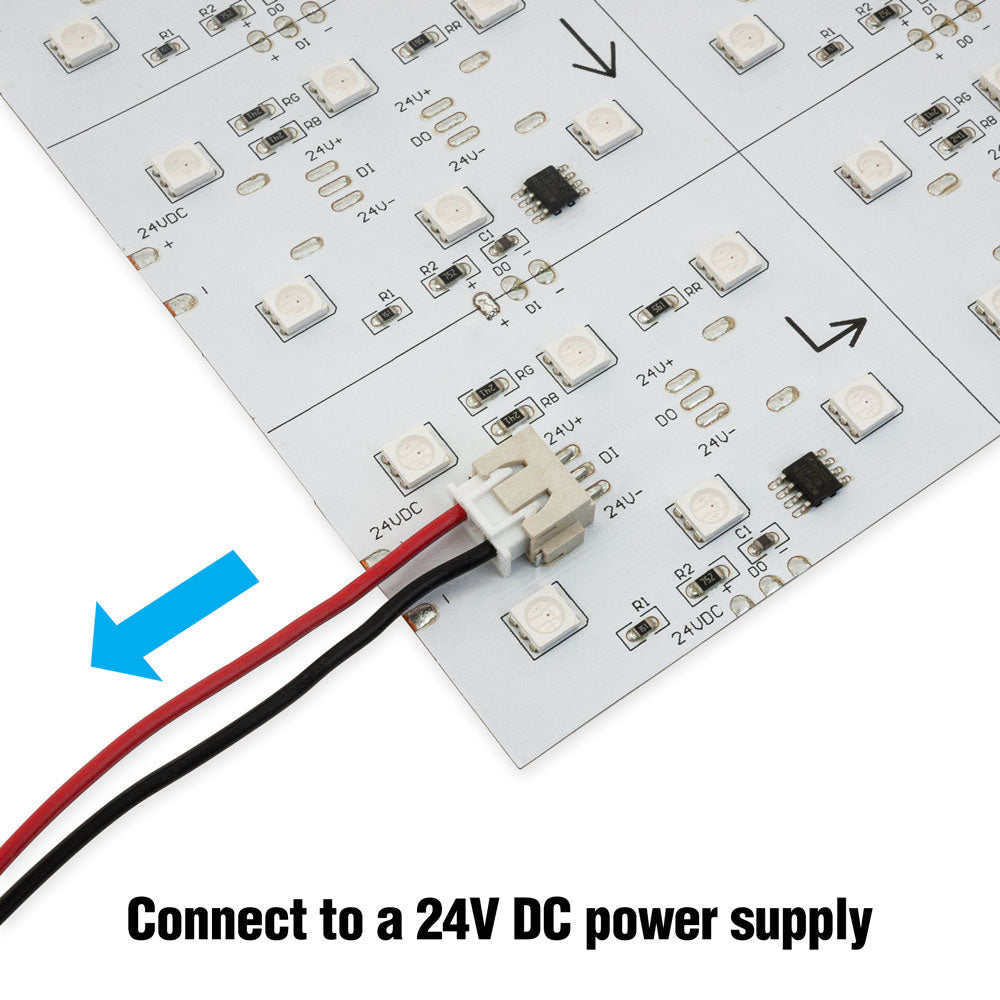
The number of LED light sheets you need should be calculated from the visible illuminated area, safe cutting size, seam layout, and power zones, not from outside panel dimensions alone. A simple square-foot or square-meter division can be useful for an early estimate, but it is not enough for a reliable backlit stone, light box, cabinet, or display project.
The final quantity depends on how the sheets can be safely cut, where seams can be hidden, whether the face material has enough mixing depth, and how power will be injected. If any of those design points are skipped, the project may show dark lines, edge bands, LED dots, or far-end dimming even when the area calculation looks correct.
Start with Visible Illuminated Area
First separate the visible illuminated area from the finished outside dimension. Frames, stone returns, metal trim, cabinet lips, access panels, and hidden borders should not always be counted as active illuminated area.
Early estimate formula:
Estimated sheet quantity = visible illuminated area / effective coverage per sheet after safe cutting
This formula is only the first pass. The final answer needs a layout drawing because the sheet cannot be cut freely at any point. You can use the LED light sheet calculator as a starting point, then confirm the result against drawings, seams, wiring, and power supply requirements.
Why Cutting Does Not Automatically Cause Dark Lines
Dark lines are not caused by cutting alone. They are usually caused by gaps, poor seam location, shallow cavities, structural obstructions, dark interior surfaces, or voltage drop. A sheet cut along approved scoring lines can still produce a clean result when the optical and electrical layout is designed correctly.
| Problem | Likely cause | Better design response |
|---|---|---|
| Straight dark line | Gap or seam in a visible zone | Move seam to veining, frame line, or hidden edge. |
| Dark perimeter | Sheet stops before trim or inner wall is dark | Extend coverage under trim and use white reflective cavity surfaces. |
| LED dots | Cavity too shallow or face too transparent | Increase mixing distance, use higher-density sheets, or add diffuser. |
| Far end dimming | Voltage drop from long single-end feed | Use zoned power, center feed, or dual-end injection. |
| Patchy stone glow | Material transmittance variation | Test real samples before approving production layout. |
Large Panels Need Seam Planning
For a 1000 x 2400 mm backlit stone wall, the layout may use several sheets rather than one imaginary sheet cut to the whole size. Seams should be aligned with stone veining, slab joints, metal dividers, cabinet columns, or areas outside the main viewing zone. Avoid placing seams at the center of the panel or behind high-transparency stone unless the mockup confirms that they disappear.
Do Not Ignore Power Zones
For small cabinets, a single power zone may be enough. For long bar counters, feature walls, hotel front desks, or RGB/CCT systems, divide the layout into manageable zones. A practical rule is to calculate actual wattage, reserve about 20% power supply headroom, and avoid feeding a long multi-sheet run from one end only.
For example, if twelve sheets use 18 W each, the actual load is 216 W. With 20% headroom, the power supply capacity should be at least 259 W. In practice, a 300 W constant-voltage power supply or two smaller zones may be safer than pushing one undersized supply near its limit. For more detail, review LED power supplies and the power supply and controller planning guide.
Information Needed for an Accurate Quantity
- Finished dimensions and visible illuminated dimensions
- CAD, elevation, or marked-up sketch
- Stone, acrylic, or panel material photos
- Material thickness and sample availability
- Available cavity depth
- Color temperature, RGB, RGBW, or CCT requirements
- Power supply location and cable exit direction
- Dimming method and controller requirements
- Installation environment and maintenance access
Once these inputs are available, the project can be reviewed as a sheet layout, not just a material quantity. That is the difference between a rough estimate and a quote-ready lighting plan.
FAQ
Can I calculate LED light sheet quantity by area only?
No. Area is useful for early budgeting, but the final quantity must also consider cutting grid, hidden trim, seams, cavity depth, wiring, and power zones.
Will splicing sheets create visible dark lines?
Not necessarily. Visible lines usually come from poor seam placement, shallow mixing depth, gaps, dark cavities, or structural blockage. A layout drawing and sample test reduce this risk.
Where should I start?
Start with visible dimensions and material details, then use the LED light sheet calculator and request a project quote for layout review.