
Project Images and Layout References
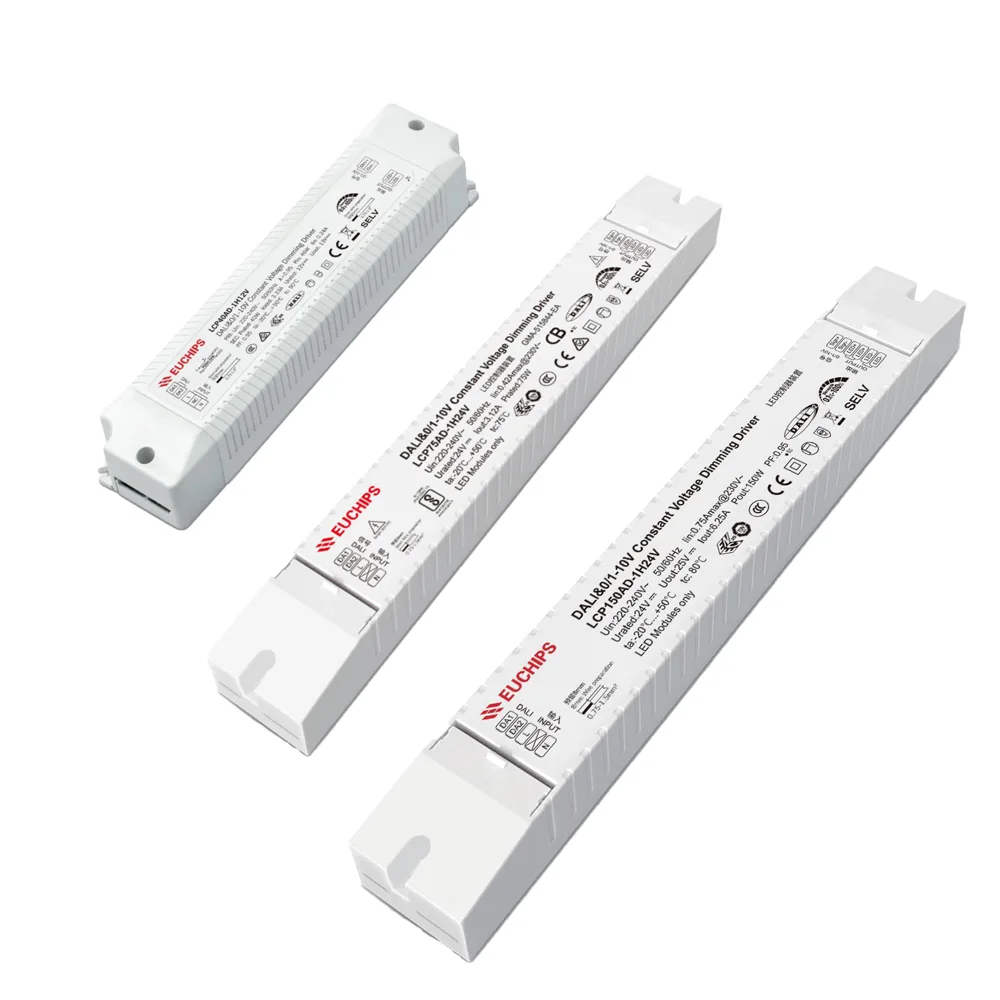
Related Power Planning Resources
Choosing a power supply for flexible LED light sheets is not just a wattage calculation. For backlit stone, signs, light boxes, displays, and custom architectural panels, the driver must match voltage, total load, wiring zones, cable distance, dimming method, service access, and the installation environment.
Related project planning links: LED power supplies for light sheet projects.
This guide is written for contractors, stone fabricators, sign makers, lighting designers, millwork shops, and project buyers planning flexible PCB LED light sheets. If you only need a first estimate, start with the LED light sheet power supply calculator; if you are planning stone, also compare the layout in the backlit stone LED calculator.
Quick Answer
Choose an LED light sheet power supply by confirming the sheet voltage, calculating the wattage for each zone, adding appropriate reserve capacity, checking controller and dimmer limits, and planning cable length and service access. Large backlit stone or signage projects should usually be divided into zones instead of relying on one hidden driver for the entire surface.
Use the Right Driver Type
Most flexible LED light sheets are designed for constant-voltage low-voltage DC power, commonly 12V or 24V depending on the model. The power supply should match the voltage printed on the product label or datasheet. A 12V sheet should not be connected to a 24V driver, and a 24V sheet should not be guessed from appearance.
Do not select a driver only because the plug fits or because the output wattage looks large enough. Check output voltage, rated power, working temperature, protection rating, dimming compatibility, installation location, and whether the driver is approved for the project’s market and electrical requirements.
| Item | What to confirm | Why it matters |
|---|---|---|
| Voltage | 12V DC or 24V DC from the actual sheet model | Wrong voltage can cause failure, damage, or no light |
| Wattage | W per sheet, W per area, or W per custom module | This is the base number for driver sizing |
| Zones | How many independent areas will be powered | Large layouts are easier to test and service when divided |
| Dimming | PWM dimming, 0-10V, TRIAC-compatible driver, DMX, DALI, or smart control | Driver and controller must use compatible methods |
| Location | Dry cabinet, service bay, signage box, millwork cavity, wet-area enclosure | Heat, access, and protection affect driver choice |
Calculate Load by Zone, Not Only by Project Total
The safest early method is to calculate the load for each lighting zone. Use the LED light sheet calculator to estimate sheet quantity or area, then use the LED light sheet power supply calculator to estimate power supply capacity. For a custom sheet layout, use the product drawing and wattage information rather than a generic square-foot number.
Example: if one zone uses LED light sheets with an estimated load of 96W, the driver must support that voltage and load with appropriate headroom. If the wall has three similar zones, you should still review each zone separately because cable length, feed location, and controller channel load may not be identical.
| Project type | Power planning approach | Practical note |
|---|---|---|
| Small sign or display | One driver may be enough if load and voltage are within rating | Keep the driver accessible inside the cabinet or service area |
| Backlit onyx panel | Calculate the visible panel load and test dimming level | Review stone behavior with the backlit onyx LED light sheet page |
| Large stone wall | Split into zones with clear feed points | Avoid one long hidden run behind finished stone |
| RGBW decorative panel | Check total load and load per channel | Controller channel rating can be the limiting factor |
| Wet bar or bathroom area | Review IP rating, enclosure, and local code | Do not assume an indoor open-frame driver is suitable |
Plan for Voltage Drop and Cable Distance
Voltage drop can make one end of a light sheet layout look dimmer, especially when the cable run is long, the current is high, or too much load is placed after one feed point. For deeper troubleshooting, read how to reduce voltage drop in large LED light sheet installations.
A larger wattage driver does not automatically solve voltage drop. The layout may need shorter cable runs, thicker wire, multiple feed points, divided zones, or a different voltage platform. These details should be checked before stone, acrylic, or signage faces are closed.
- Keep driver-to-sheet cable runs as short and practical as the project allows.
- Avoid placing all load at the far end of one long low-voltage run.
- Label each zone before the panel, wall, or cabinet is closed.
- Test the layout at intended dimming levels, not only at full brightness.
- Record driver locations and feed points for future maintenance.
Match the Controller and Dimming Method
The power supply, controller, and LED sheet must work as a system. A dimmable driver may be needed for some control methods, while other layouts use a constant-voltage driver feeding a separate PWM controller, RGBW controller, CCT controller, DMX decoder, or receiver. Use the power supply and controller guide before selecting parts.
For single-color LED sheets, the main check is voltage, current, and dimming compatibility. For CCT, RGB, RGBW, or pixel-style sheets, the controller channel count and protocol matter. A driver may have enough total watts while the controller output channel is still overloaded.
| LED sheet type | Power/control point to check | Common risk |
|---|---|---|
| Single color | Voltage, total current, PWM dimming compatibility | Dimmer or receiver undersized |
| CCT / tunable white | Two-channel control and load balance | One color channel not controlled correctly |
| RGB | Three-channel controller and common wiring type | Color order or channel mismatch |
| RGBW | Four-channel RGBW controller or decoder | RGB-only controller leaves white channel unmanaged |
| Large multi-zone system | Driver count, controller outputs, repeaters, DMX/DALI design | One hidden control point becomes hard to service |
Installation and Service Access Checklist
Power supplies should be installed where they can be inspected, cooled, and replaced if needed. For hands-on mounting and connection steps, review how to cut and install flexible LED light sheets. For backlit stone systems, compare the lighting plan against the translucent stone backlighting page before final closure.
- Confirm input voltage and output voltage before connecting the LED sheets.
- Disconnect power before cutting, soldering, wiring, or changing the layout.
- Check polarity before powering each zone.
- Use suitable enclosures and protection for the installation environment.
- Leave access panels or service space for drivers and controllers.
- Test every zone before installing the final stone, acrylic, or sign face.
Common Power Supply Mistakes
| Mistake | What can happen | Better practice |
|---|---|---|
| Choosing only by total wattage | Uneven brightness or overloaded wiring | Calculate by zone and feed point |
| Mixing 12V and 24V parts | Damage, no light, or unsafe operation | Match the exact LED sheet model voltage |
| Ignoring controller capacity | Controller overheats or channels fail | Check load per controller channel |
| Hiding drivers permanently | Future maintenance becomes expensive | Keep drivers accessible and documented |
| Skipping a real material test | Stone looks too dark, too bright, or uneven | Test with the real slab or display face |
For engineering content, the honest answer is often conditional. Driver size depends on the selected sheet, wattage, cable distance, zones, ambient temperature, driver datasheet, enclosure, dimming method, and local electrical code. That caution is not weakness; it is how expensive installation problems are avoided.
When to Request Project Review
Request a layout review when the project includes large backlit stone walls, long cable runs, RGBW control, tunable white control, multiple panels, wet locations, tight millwork spaces, or a strict luxury interior finish. Send the drawing, visible size, sheet model if known, voltage preference, target color temperature, control method, and installation notes through the request a project quote page. The RFQ drawing checklist can help you prepare the details.
Reference Images for Planning Discussion
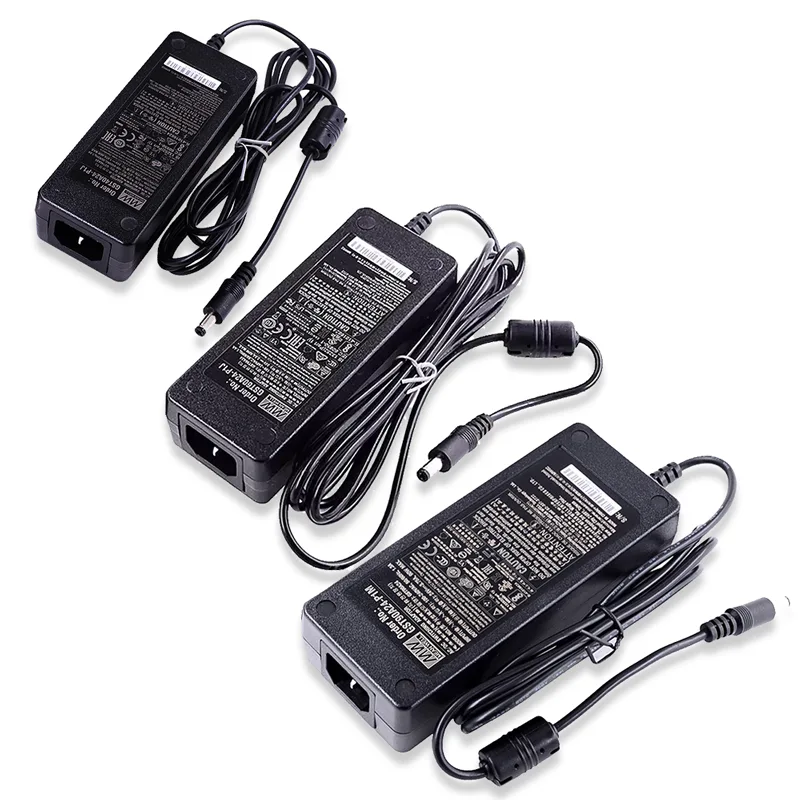
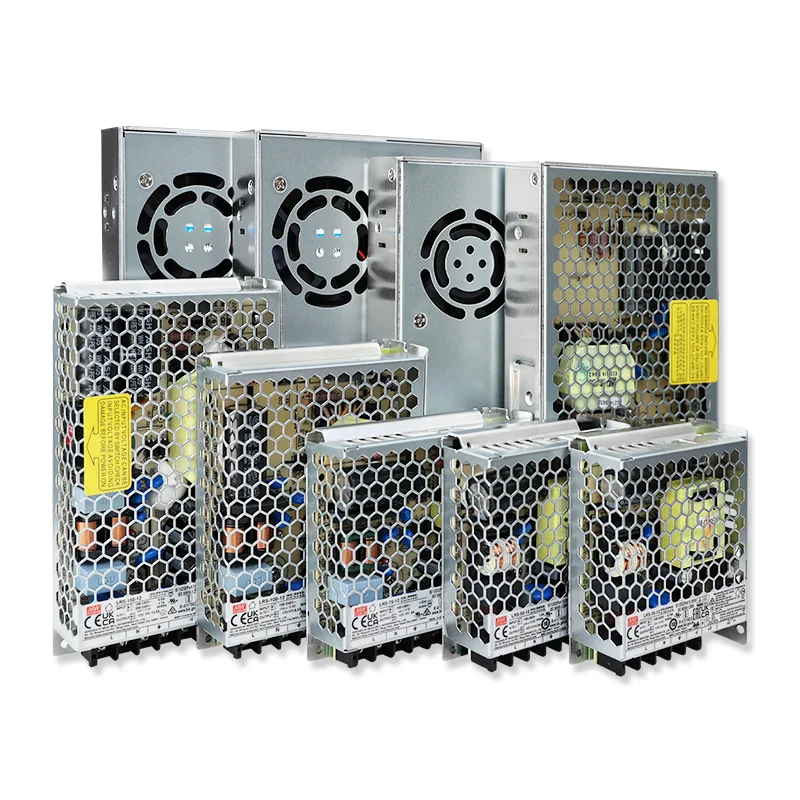
The following reference image shows why voltage, feed points, and driver capacity should be checked before installation.
FAQ
What size power supply do I need for LED light sheets?
Estimate the total wattage for each lighting zone, then choose a compatible constant-voltage power supply with practical reserve capacity. The exact size depends on the LED sheet model, voltage, wattage, cable length, controller rating, enclosure, and local code.
Can one power supply run a large LED light sheet wall?
Sometimes, but large walls often need multiple feed points, divided zones, or more than one driver to reduce voltage drop and make maintenance easier. Do not size a large project only by total watts.
Should LED light sheets use 12V or 24V power supplies?
Match the voltage of the selected LED light sheet. Many larger layouts prefer 24V because current can be lower for the same wattage, but the product model and project wiring decide the correct voltage.
How much reserve capacity should I leave?
A common planning practice is to avoid running drivers at their absolute maximum rating. The reserve should be confirmed against the driver datasheet, ambient temperature, enclosure, control method, and project requirements.
Where should the power supply be installed?
Place drivers where they are protected, ventilated as required, and accessible for inspection or replacement. Avoid sealing all drivers permanently behind stone, cabinetry, or finished wall panels.